Contact support: support@theralytics.net · Chat support at theralytics.net
This guide gives a brief overview of the major changes and new features in the new Theralytics mobile app. It covers logging in, working offline, completing your session note, collecting data and reviewing client info. For any specific question or issue, please submit a ticket to support@theralytics.net.
In this guide
What's changed, how to log in, and how the app behaves when you lose connection.
1. What's new at a glance
The new app has a new design and is faster and more reliable than the previous version. Here are the biggest differences you'll notice.
| Area | Previous app | New app |
|---|---|---|
| Login | Username and password only; no way to change workspace | Change workspace from the login screen; show or hide your password |
| Logout | Hamburger menu | Profile icon, which also shows your app version and warns about running timers |
| Offline | Manual sync from the menu | Automatic sync with a color status indicator |
| Session statuses | Generic "Pending" | Scheduled, Saved as Draft, Pending Signature, Pending Completion, Rendered and Canceled |
| Rendered sessions | Not shown | Shown on My Schedule |
| Saving notes | Tap Saved as Draft manually | Autosaves as you work |
| Signatures | Same screen as the note | Dedicated signature screen with name, role and timestamp |
| Web and mobile | Data from the app showed on the web, but not the other way around | Syncs both ways; start a note on one device and finish it on another |
| Expired authorization or insurance | Error appears when you tap Complete | Message appears as soon as you select the appointment |
| Notes area | Notes | Clipboard, with private notes and read/unread tracking |
2. Download and log in
Download the app from the App Store (iOS) or Google Play (Android). Before logging in, make sure you have your Theralytics workspace (clinic name), username and password. These are usually provided by an administrator at your clinic.
If you are switching from the old mobile app, make sure to sync offline data and render saved drafts before you download the new app.
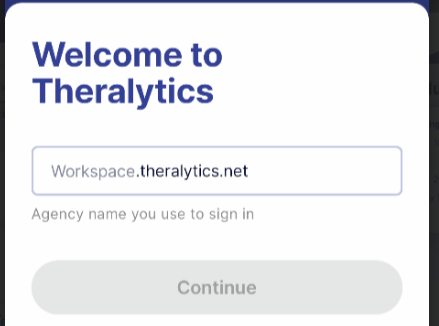
- Open the app and enter your clinic's workspace name.
- Enter your username and password. Tap the eye icon to show or hide your password while you type.
- Tap Login. Your clinic's name appears on the login screen once the workspace is found.
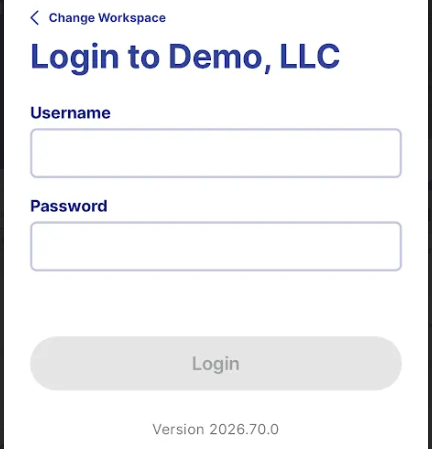
You'll land on My Schedule, showing today's appointments.
3. Your profile and logging out
Tap the profile icon at the top of the page to open a half-screen panel showing your name, email, the Logout option and the current version of the app.

When you tap Logout, the app checks for running timers. If any are still running, it tells you how many and asks you to stop them before you log out. The app also displays a message if you are offline, haven't synced your data, and attempt to logout.
4. Working offline
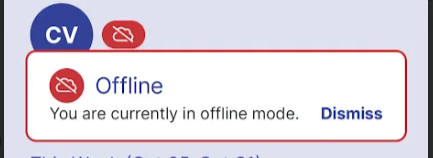
You no longer need to sync manually. The app shows your connection status with a colored indicator and syncs automatically when your connection returns.
| Indicator | What it means |
|---|---|
| Green | You're online. Data saves to your clinic's database as you go. |
| Red | You're offline. Keep working; your data is stored on the device. |
| Yellow | Your connection is back and the app is syncing what you collected while offline. |
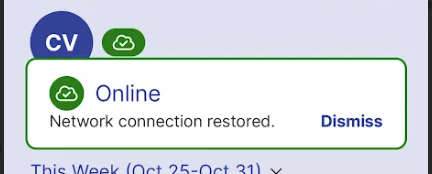
A short message appears whenever your status changes. It disappears after a few seconds, or you can tap Dismiss to close it right away.
4.1 What's available offline
- Clients who have appointments last week, this week or next week are saved to your device, so you can collect data for them offline.
- Clients outside that three-week window can only be found while you're online, by searching in Collect Data.
- Documents are not available offline.
Your schedule, your session note, and how to render.
5. My Schedule
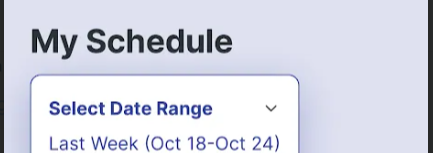
My Schedule is your command center and the first screen you see after logging in. By default it shows today's appointments in time order, from earliest to latest.
5.1 Filtering your schedule
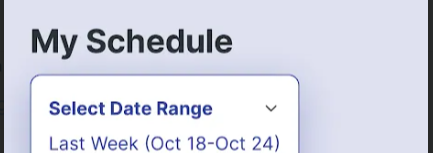
- Choose Today, Last week, This week or Next week.
- Choose Custom to pick your own date range, up to one month at a time.
5.2 Reading an appointment card
Each card shows the session's status with a color label, and whether it's (Billable) or (Non-billable).
| Status | Meaning |
|---|---|
| Scheduled (light blue) | The session hasn't been started.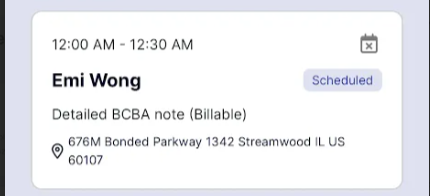 |
| Saved as Draft | You've started the note; your work so far is saved.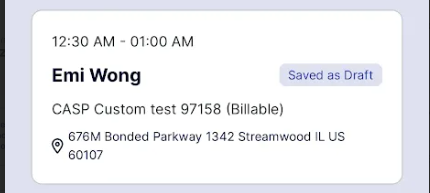 |
| Pending Signature | The note is filled in but still needs one or more signatures.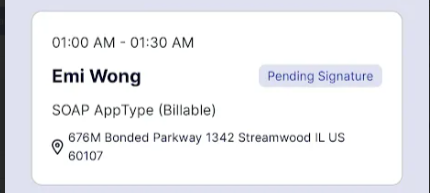 |
| Pending Completion | The note and signatures are done; the session still needs to be completed (rendered).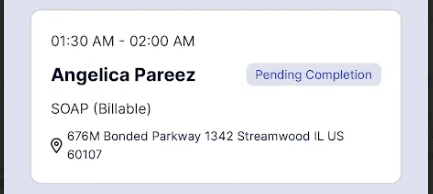 |
| Rendered (green) | The session is complete. Rendered sessions now stay visible in the app.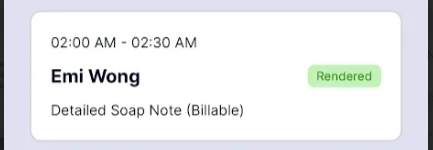 |
| Canceled (red label) | The session was canceled. Only the label is red, not the whole card.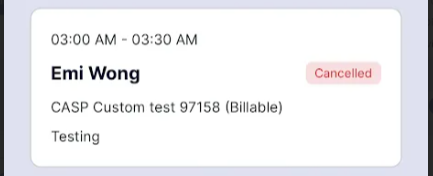 |
5.3 Inside an appointment
Open an appointment to see the payer name, service type, address, session time and rendering provider. From here you can:
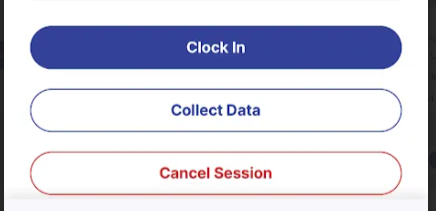
- Clock in to the session. Once clocked in, you'll see the Clock Out option and you can select it at the end of the session before completion.
- Go straight to Collect Data for this client
- Cancel the session
- Open the Client details tab to see demographic details and all client addresses (primary, home and others). Tap the phone number to call the client directly.
6. Completing your session note
Follow these steps to complete and render a session.
- On My Schedule, tap the appointment.
- If your clinic requires clock-in, tap Clock in first. Note fields stay grayed out until you clock in.
- Fill in the note. Tap a text field to open a full-screen editor for longer entries, then tap Save.
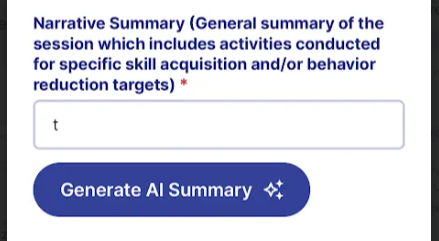
- Optional: use the AI summary to generate your narrative.
- Tap Review notes to check everything you've entered.
- Tap Finalize session. The button turns on only when all required fields are filled in. If clock-out is required, one tap records your clock-out time and moves you to signatures.
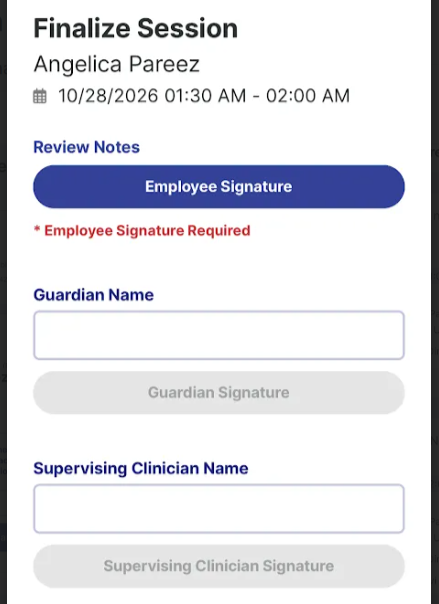
- On the signature screen, add every required signature (employee, guardian and/or supervising clinician).
- Tap Complete. The session is now rendered.
6.1 Autosave
You no longer need to tap Save as Draft. The note saves automatically as you enter data or check boxes, and its status changes to Saved as Draft. Come back anytime to pick up where you left off.
6.2 Start on one device, finish on another
Notes and data sync both ways between the app and the web. You can start a note on your phone or tablet and finish it on the web, or the other way around.
6.3 AI summary
The AI summary is available in the app. If there isn't enough information in the note to write a summary, you'll see an error message instead of text being added to your narrative. Add more detail to the note and try again.
6.4 Signatures
- Signatures have their own screen, showing each signer's name, role and timestamp.
- Complete stays disabled until every signature your clinic requires has been added.
- A signature can't be edited once it's added. To change it, delete it and add a new one.
6.5 Editing a rendered note
If your clinic allows changes after rendering, an Edit notes link appears when you open a rendered session. After making changes, you'll need to complete the session again.
6.6 Changing the session time
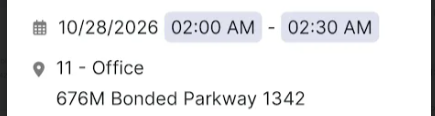
On a scheduled session, tap the session time to change it. The end time adjusts automatically to keep the scheduled length, and you can change it manually too.
6.7 Canceling and reinstating a session
- Open the appointment and tap the cancel icon.
- Select a cancellation reason and confirm.
To undo a cancellation, open the canceled session, review the details and tap Reinstate. The session returns to Scheduled.
Collecting data, the clipboard and client documents.
7. Collect data
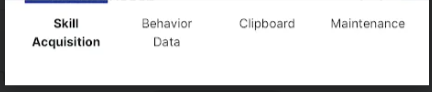
The client list shows everyone with appointments last week, this week or next week. If a client isn't listed and you're online, search for them by name. Select a client to open four tabs: Skill Acquisition, Behavior Data, Clipboard and Maintenance.
7.1 Skill acquisition
- Select one or more programs and tap Start Session.
- Each program lists its targets and shows target info such as status, instructions and type.
- Tap the option for the recording type to record a trial. Data saves automatically and a message confirms each recording. No need to tap Save.
- To remove a mistaken entry, delete the trial.
Use Today's Data to review everything collected today. Filters help you find specific entries; tap Clear filters or the x on a filter to reset.
7.2 Behavior data
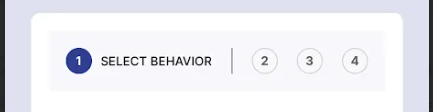
- ABC data: work through each tab in order (behavior, antecedent and so on). Every step is required, and Continue turns on once you make a selection. Save at the end, and the entry appears in Today's Data.
- Behavior data entries can't be edited. Delete the entry and record it again.
- Do Not Zero: a behavior with no data shows one zero per day. When you record data for that behavior, the zero is replaced with your data, so you won't see duplicate zeros.
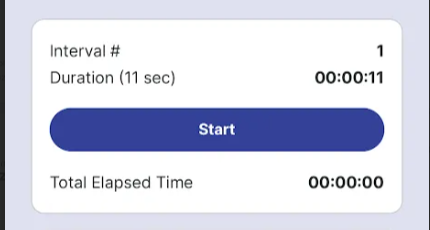
- Duration and rate: start the timer when the behavior begins. You'll get a reminder every hour while a timer is running.
- Partial interval and momentary time sampling: you'll get an alert 5 seconds before each interval ends.
7.3 Clipboard
Clipboard replaces the Notes area from the previous app. It's your go-to place for notes that aren't part of the session note.
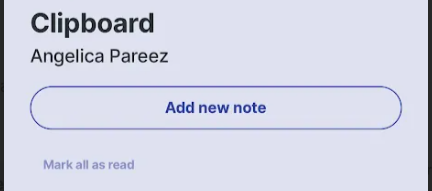
- Notes are shared with other staff but are never shown to the client.
- Mark a note Private to make it visible only to you.
- Unread notes from other staff show a blue dot. Tap Mark as read on a note, or Mark all as read.
- Only the author can edit or delete a note; everyone else can read it.
- Clipboard notes saved in the app are also available on the web.
7.4 Maintenance
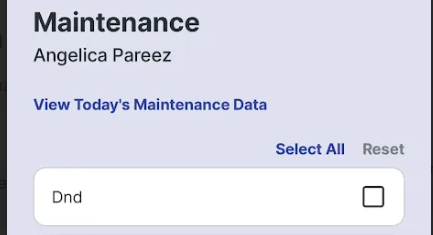
- Use Maintenance to review mastered skill acquisition targets.
- Targets marked as mastered, automatically or manually, move here.
- Data collection works the same way as for skill acquisition targets.
8. Documents
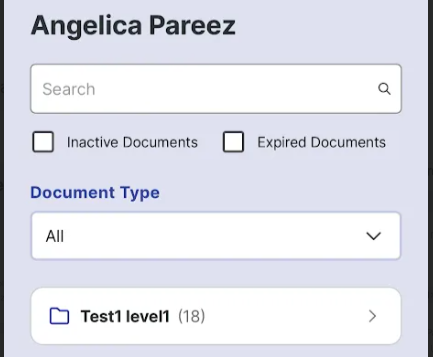
- View documents saved for your clients. Documents are organized in up to three folder levels, and each folder shows how many documents it holds.
- Each document shows its name, type, upload date and expiration date, matching what was entered on the web.
- Filter by Expired, Inactive or both.
- Use the download option to view a document. Downloads save to your device, so check your device's downloads folder.
- Documents can only be added from the web application.
Quick fixes for the most common questions.
9. Common issues
9.1 Data or a session isn't syncing
- Check the connection indicator. Red means offline; yellow means a sync is in progress.
- Check your connection (mobile data or Wi-Fi).
- Confirm the data appears in Today's Data.
- Pull down to refresh.
9.2 A client is missing
- Offline, only clients with appointments last week, this week or next week are listed. Go online and search by name.
- Confirm with your supervisor or clinic admin that the client has been assigned to you.
9.3 I can't open the appointment
If you see a message that the authorization or insurance has expired, the session can't be documented until it's updated. Contact your clinic administrator.
9.4 The note fields are grayed out
Your clinic requires clock-in. Tap Clock in on the appointment, then start your note.
9.5 Finalize or Complete is grayed out
- Finalize session turns on only when every required field is filled in. Look for the error messages next to any missing fields.
- Complete turns on only when every required signature has been added.
9.6 I can't log out
A timer is still running. Go back, stop the running timers, then log out.
9.7 Reporting an issue
Include your app version (from your profile), your device type, whether you were online or offline, and the date and time of the session.
10. FAQs
Is this HIPAA-compliant?
Yes, the mobile app is HIPAA compliant.
Can I collect data offline?
Yes, for clients with appointments last week, this week or next week. Data syncs automatically once you're back online. Documents aren't available offline.
Can I start a note on the app and finish it on the web?
Yes. Notes and data sync both ways, so you can finish on whichever device is easiest.
Can I edit a signature?
No. Delete the signature and add a new one.
Can I change the time of a rendered session in the app?
No. Change the time of a rendered session on the web. You can change the time of a scheduled session in the app.
Can parents use the mobile app?
Not at this time. The mobile app is for agency staff logins only.
Need help? We're here for you.
Chat support at theralytics.net · Email support@theralytics.net
Was this article helpful?
That’s Great!
Thank you for your feedback
Sorry! We couldn't be helpful
Thank you for your feedback
Feedback sent
We appreciate your effort and will try to fix the article