Secondary Billing
This guide will walk you through the process of managing secondary billing in the Theralytics application.
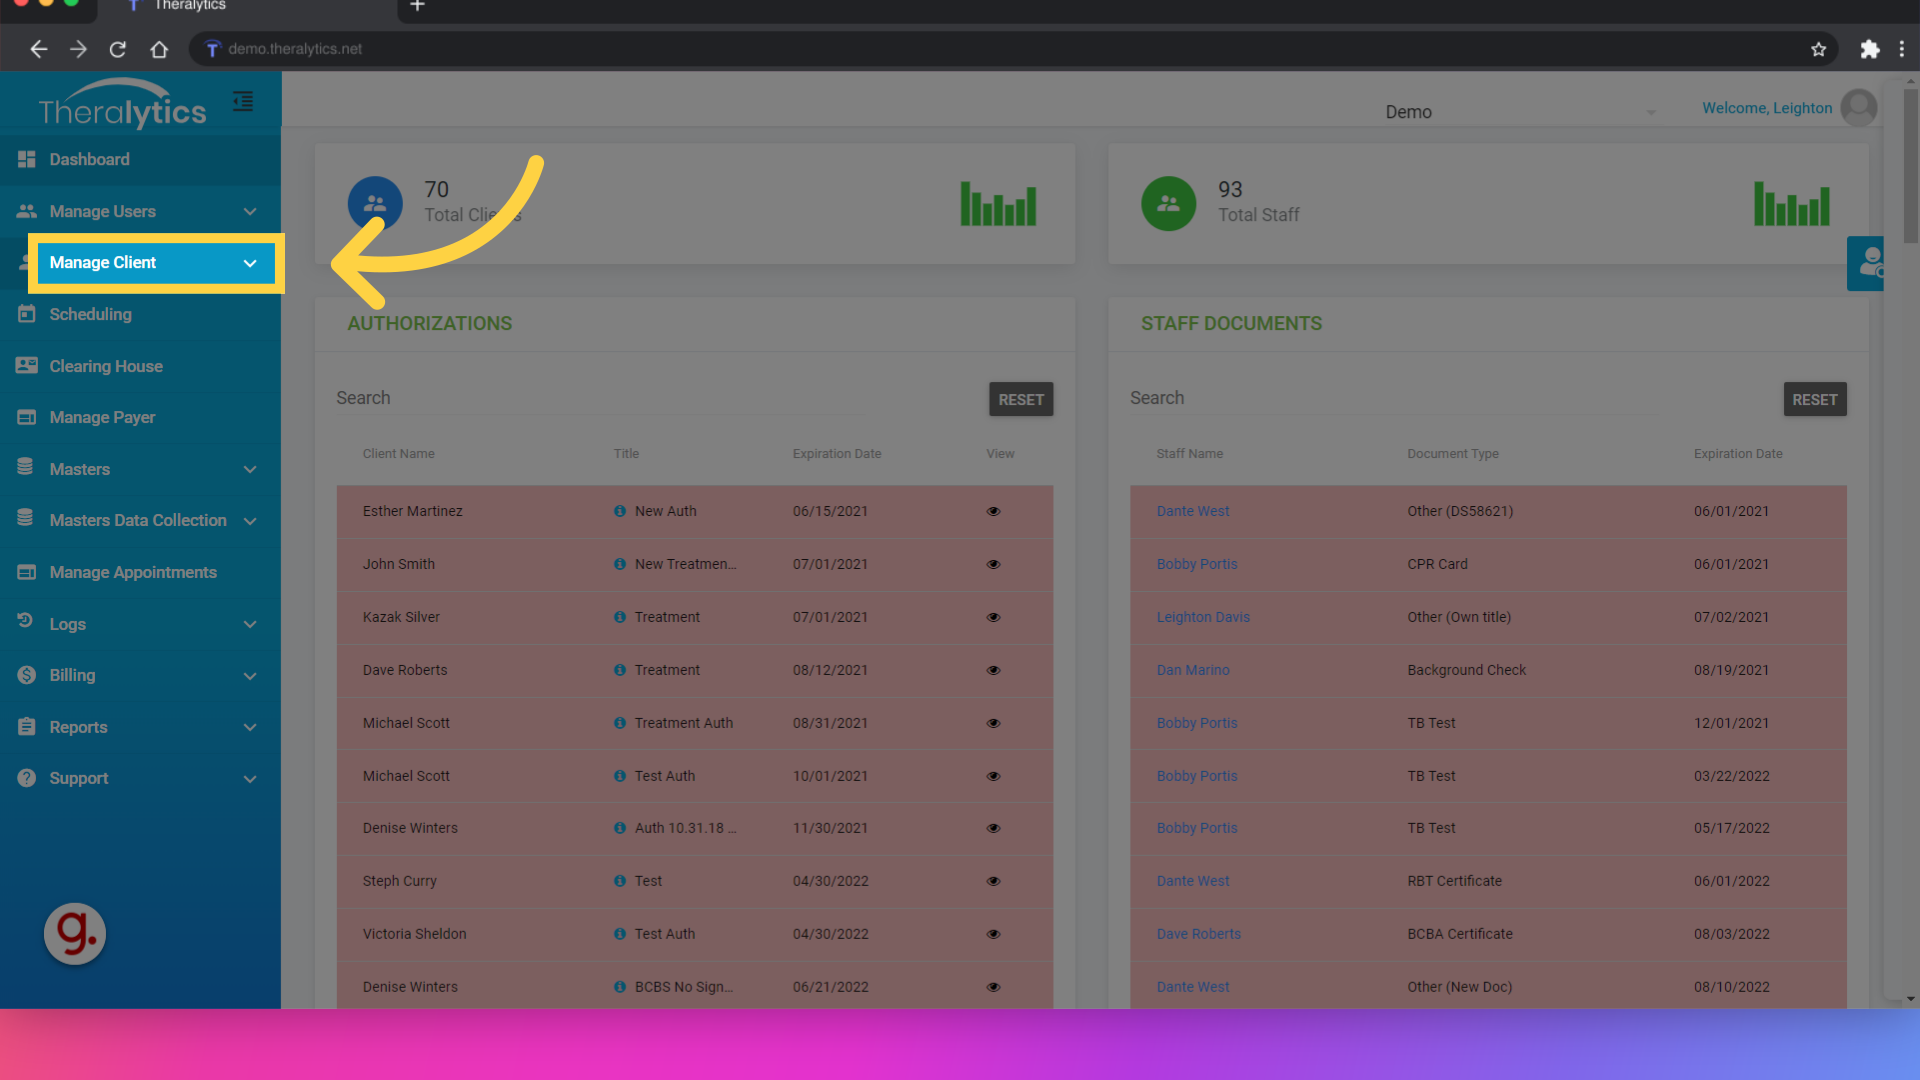
1. Click "Manage Client"
First you will need to set up the client’s secondary payer info. Navigate to the client’s profile summary and select the edit button.
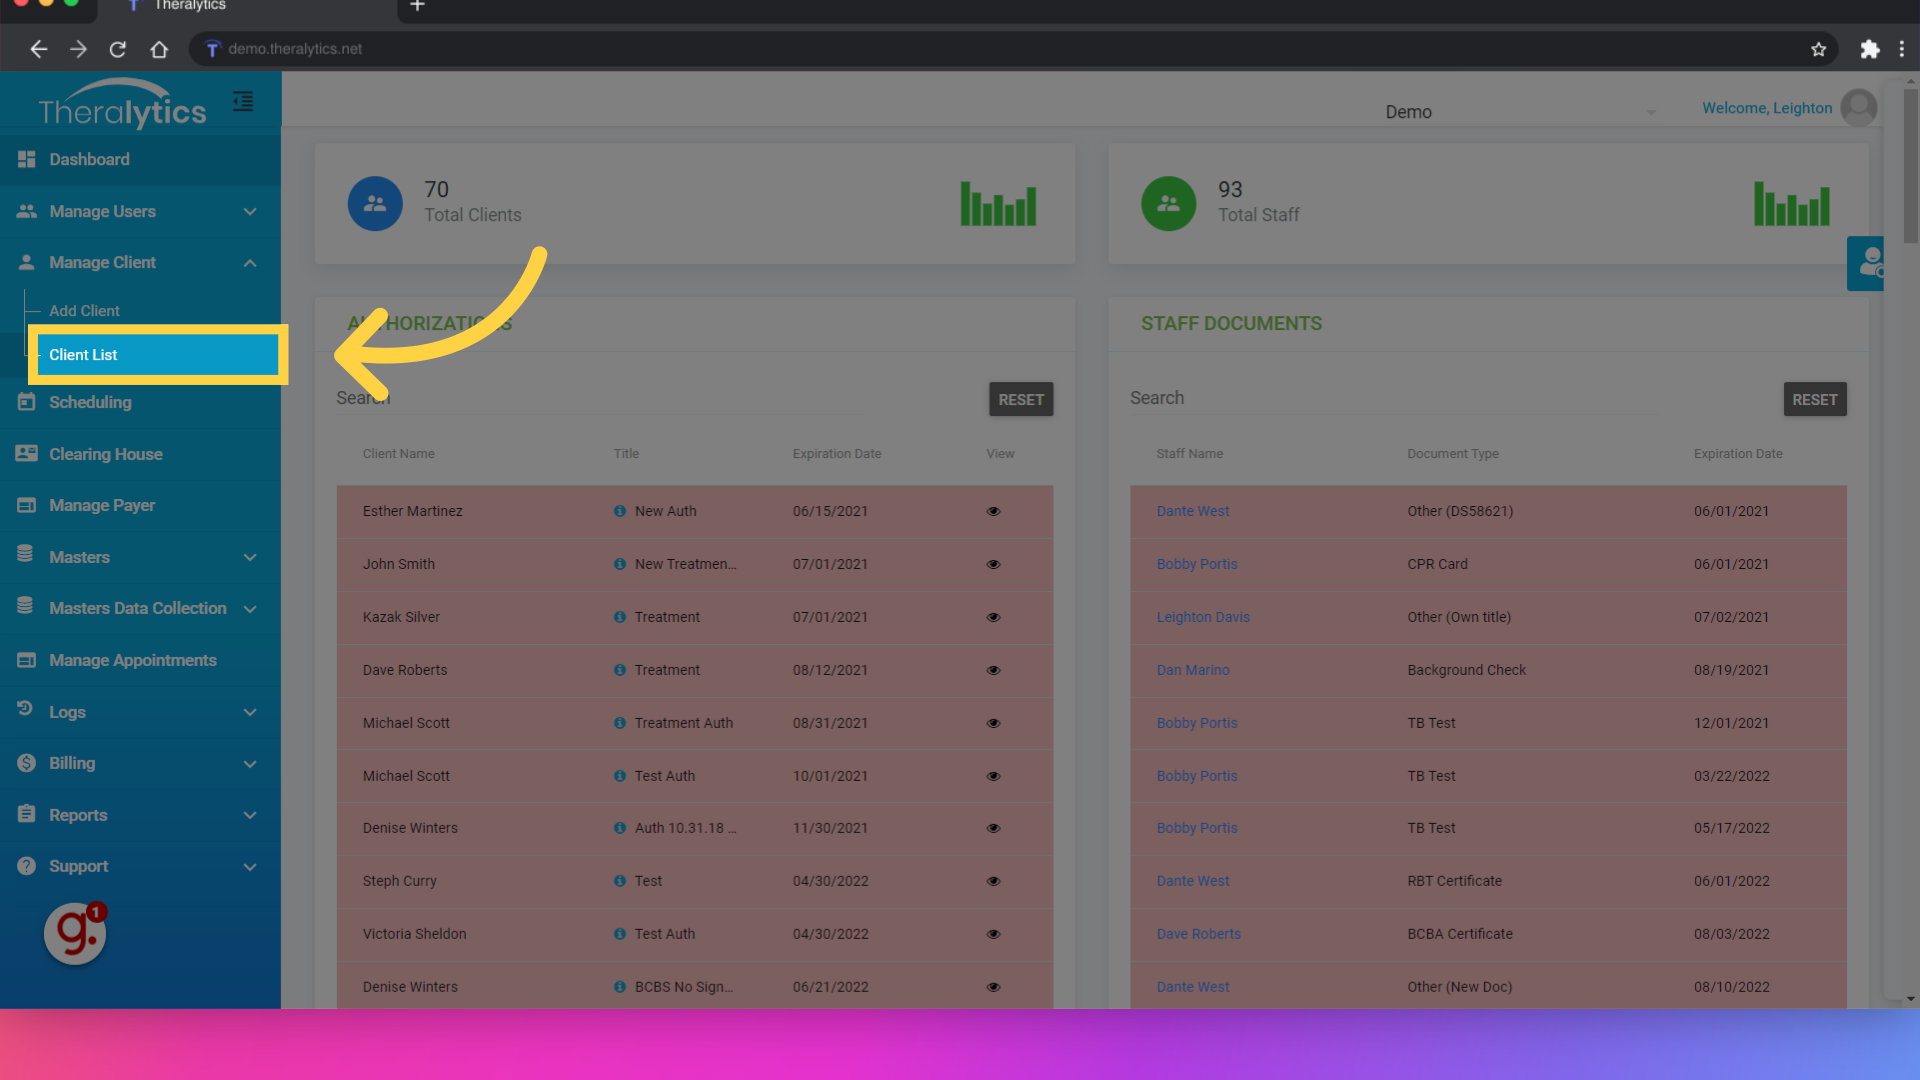
2. Click "Client List"
Select the client list.
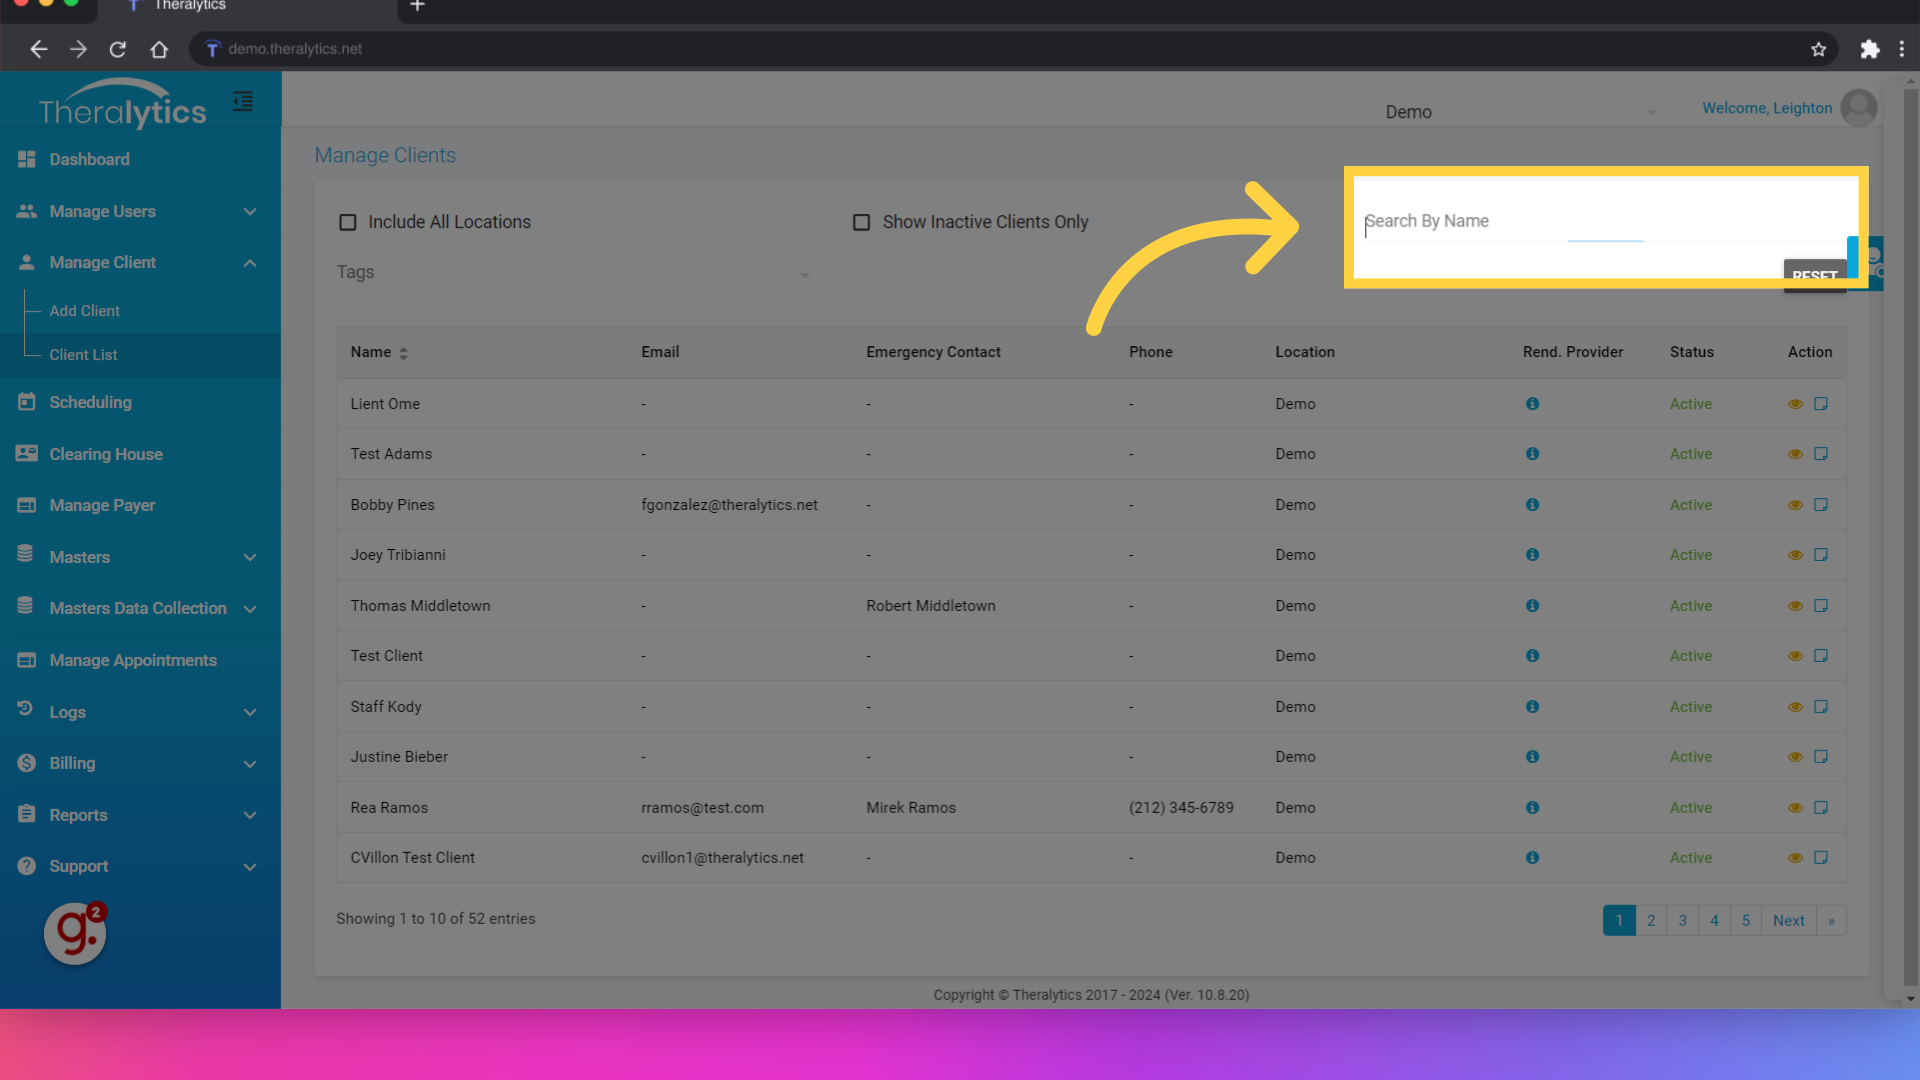
3. Click "Search By Name"
Search for a client by name.
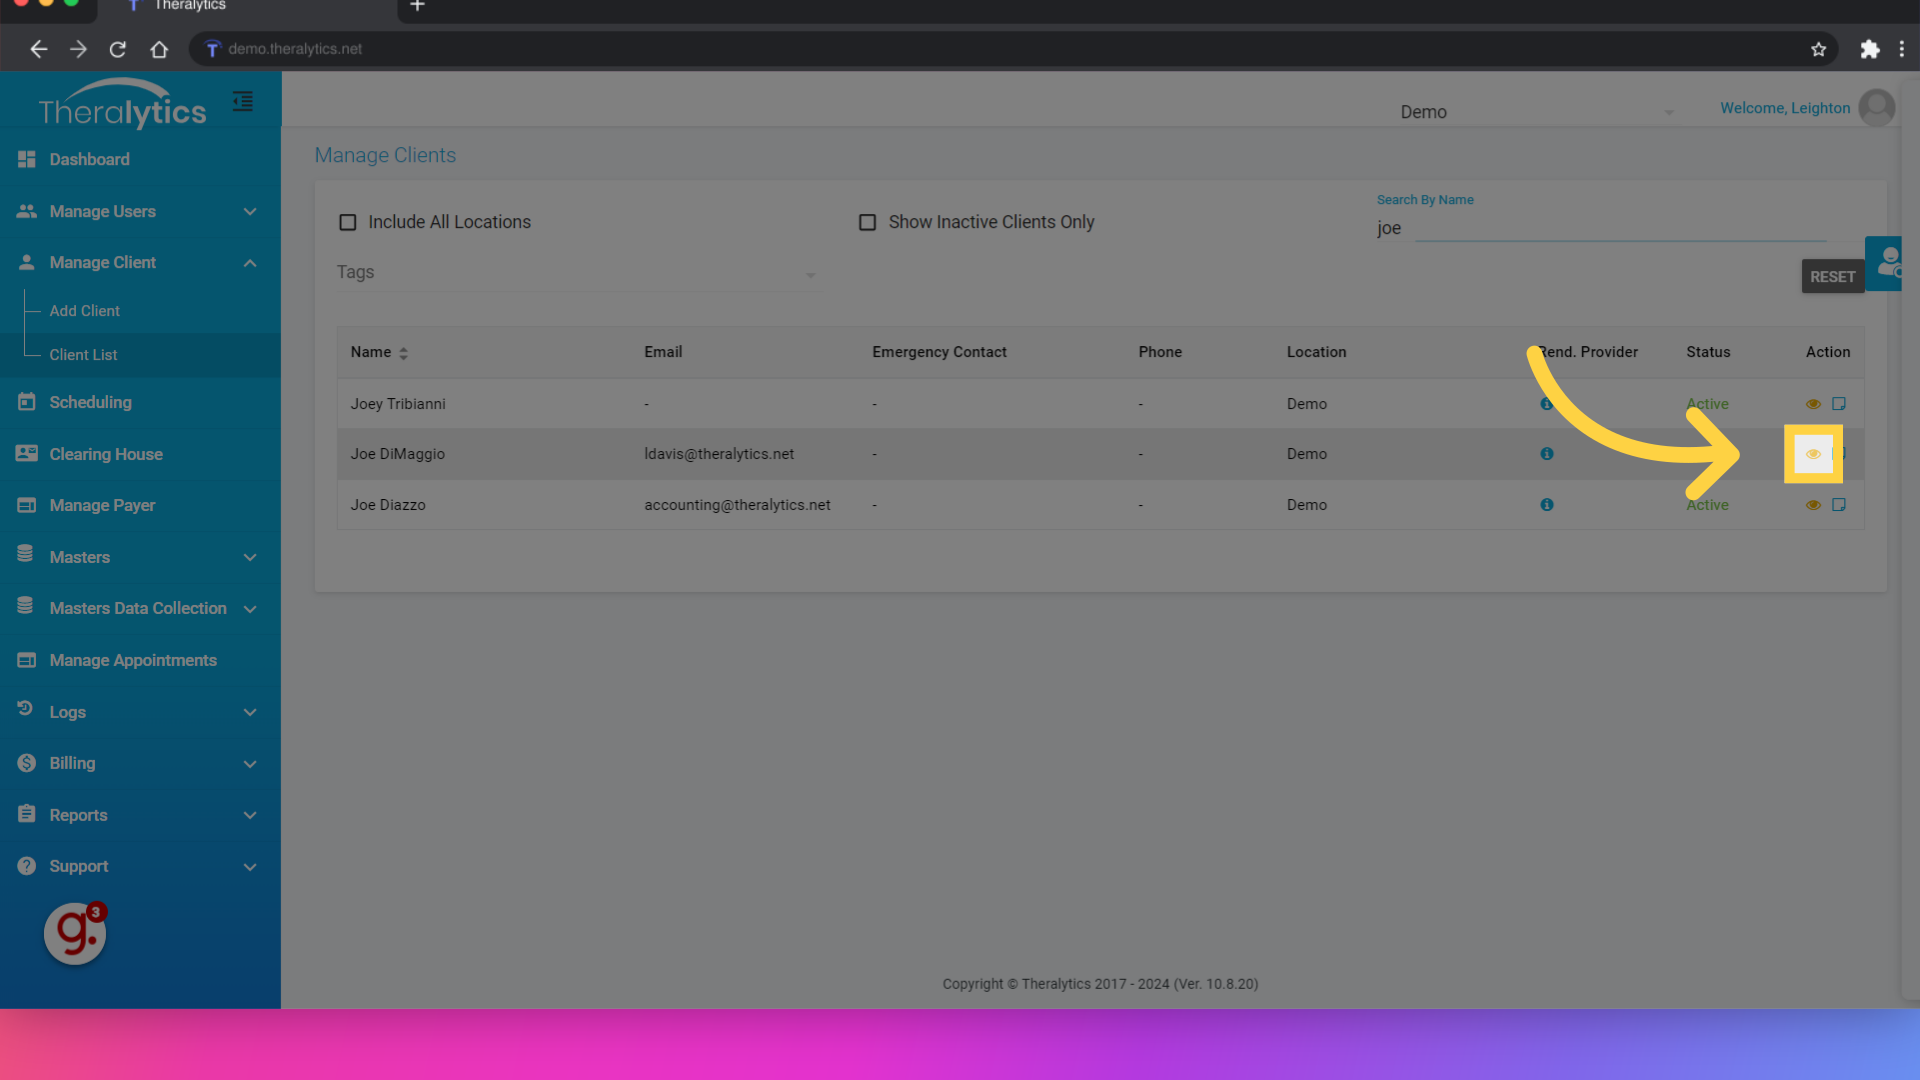
4. Click here
Click the yellow icon to view the client's profile summary.
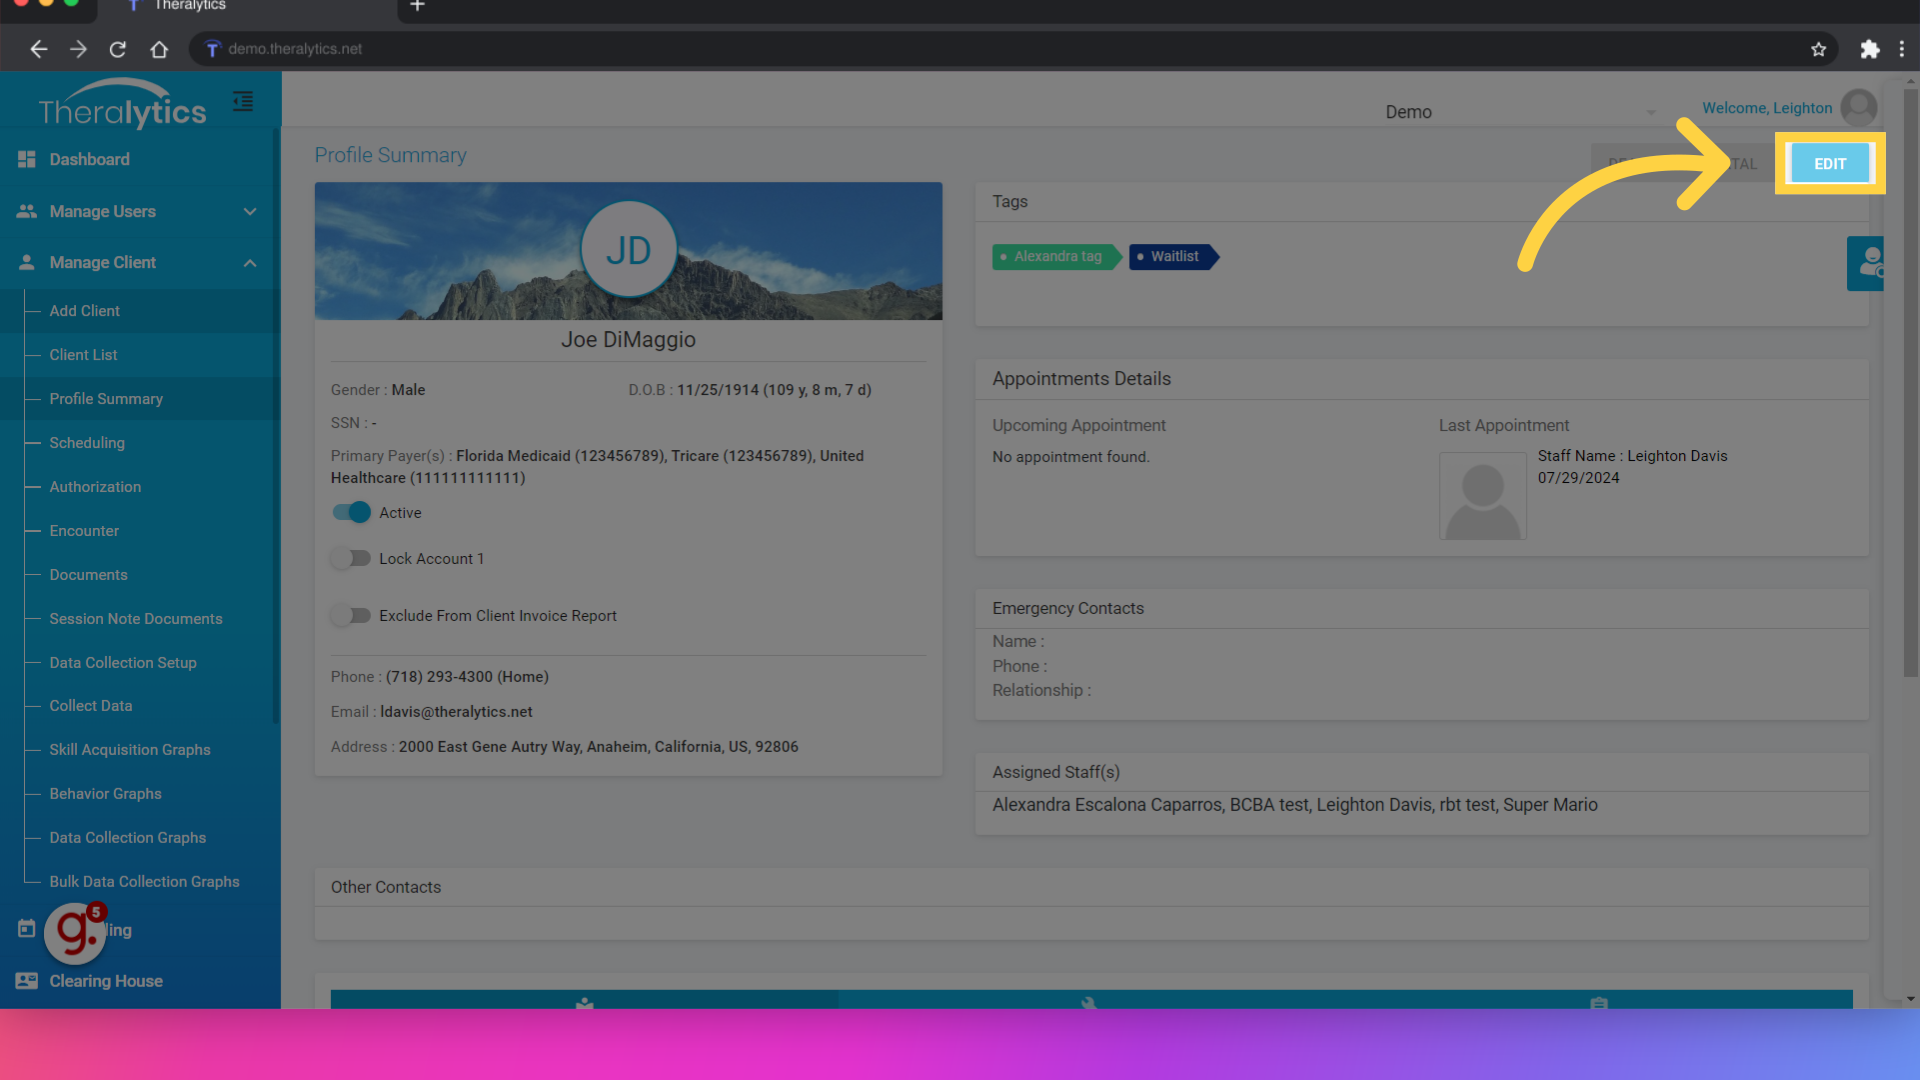
5. Click "Edit"
Once on the profile summary, click Edit.
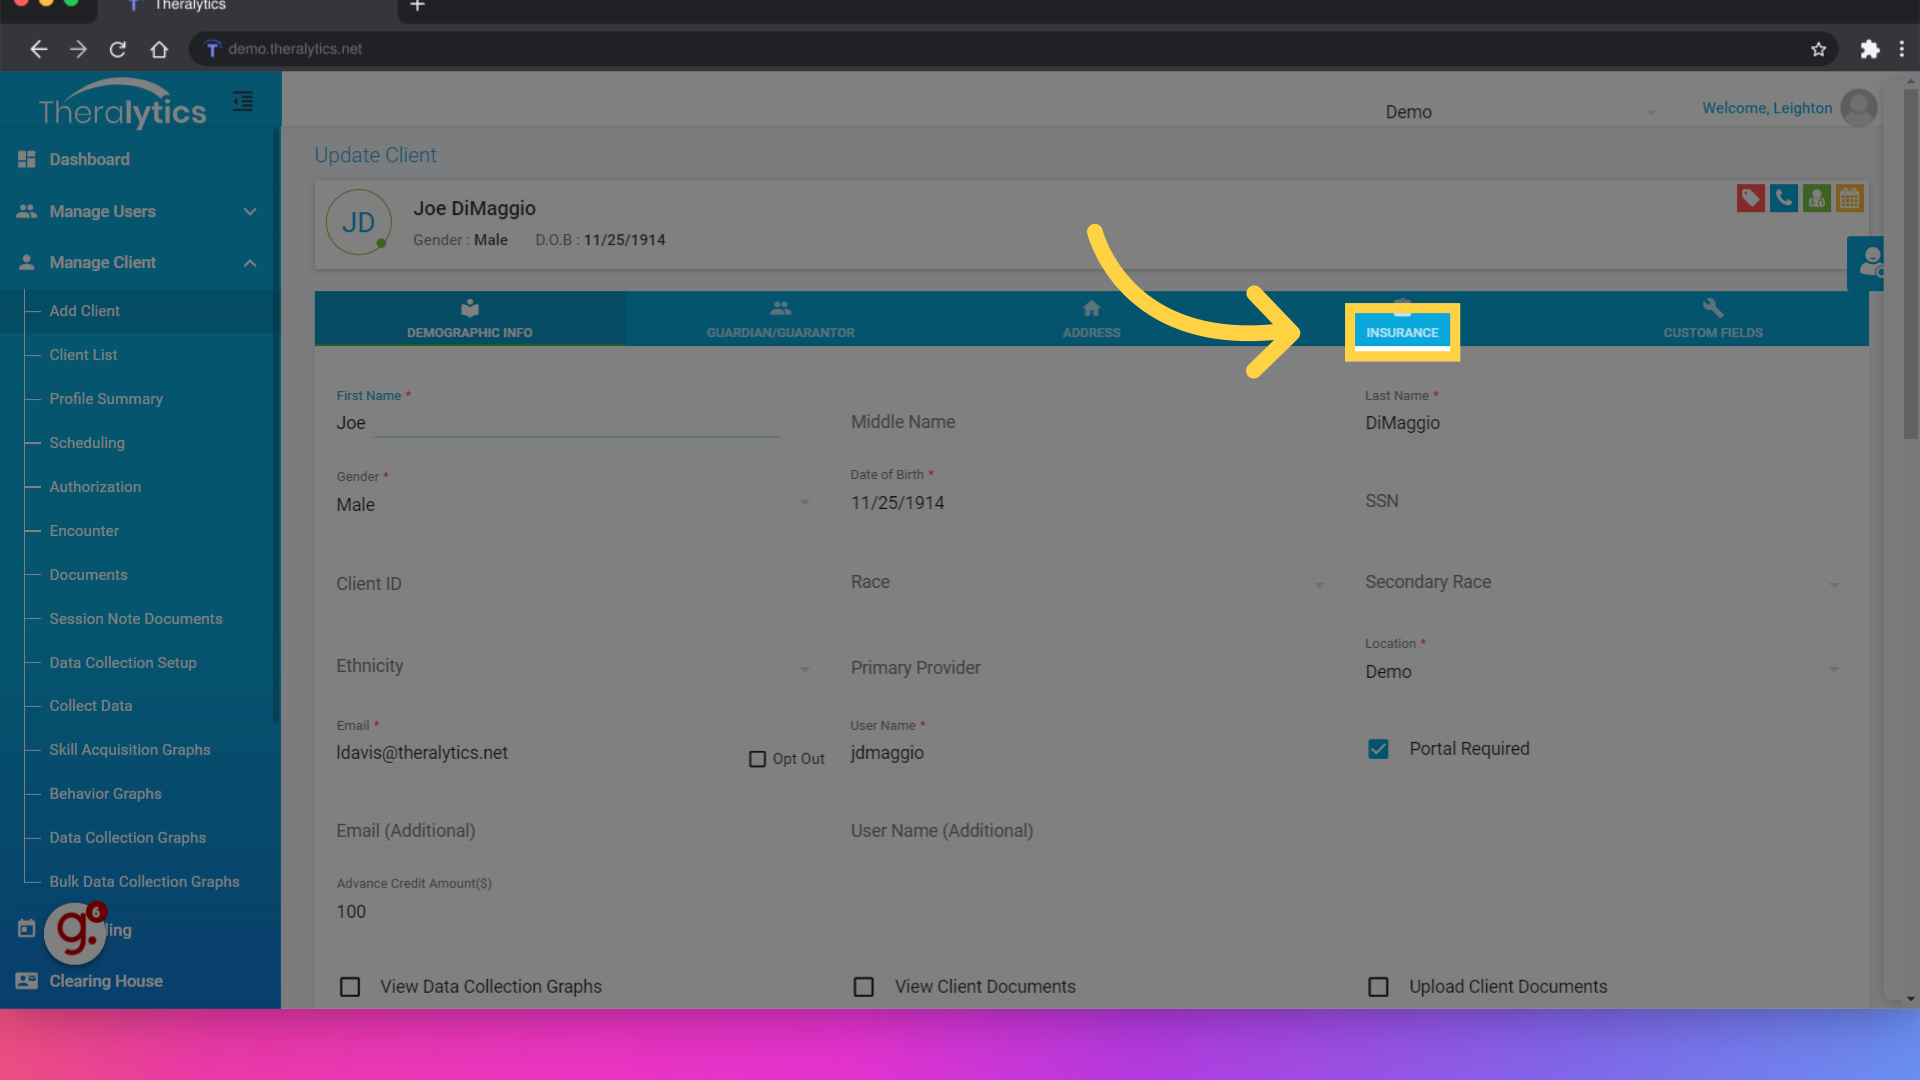
6. Click "Insurance"
Navigate to the insurance tab.
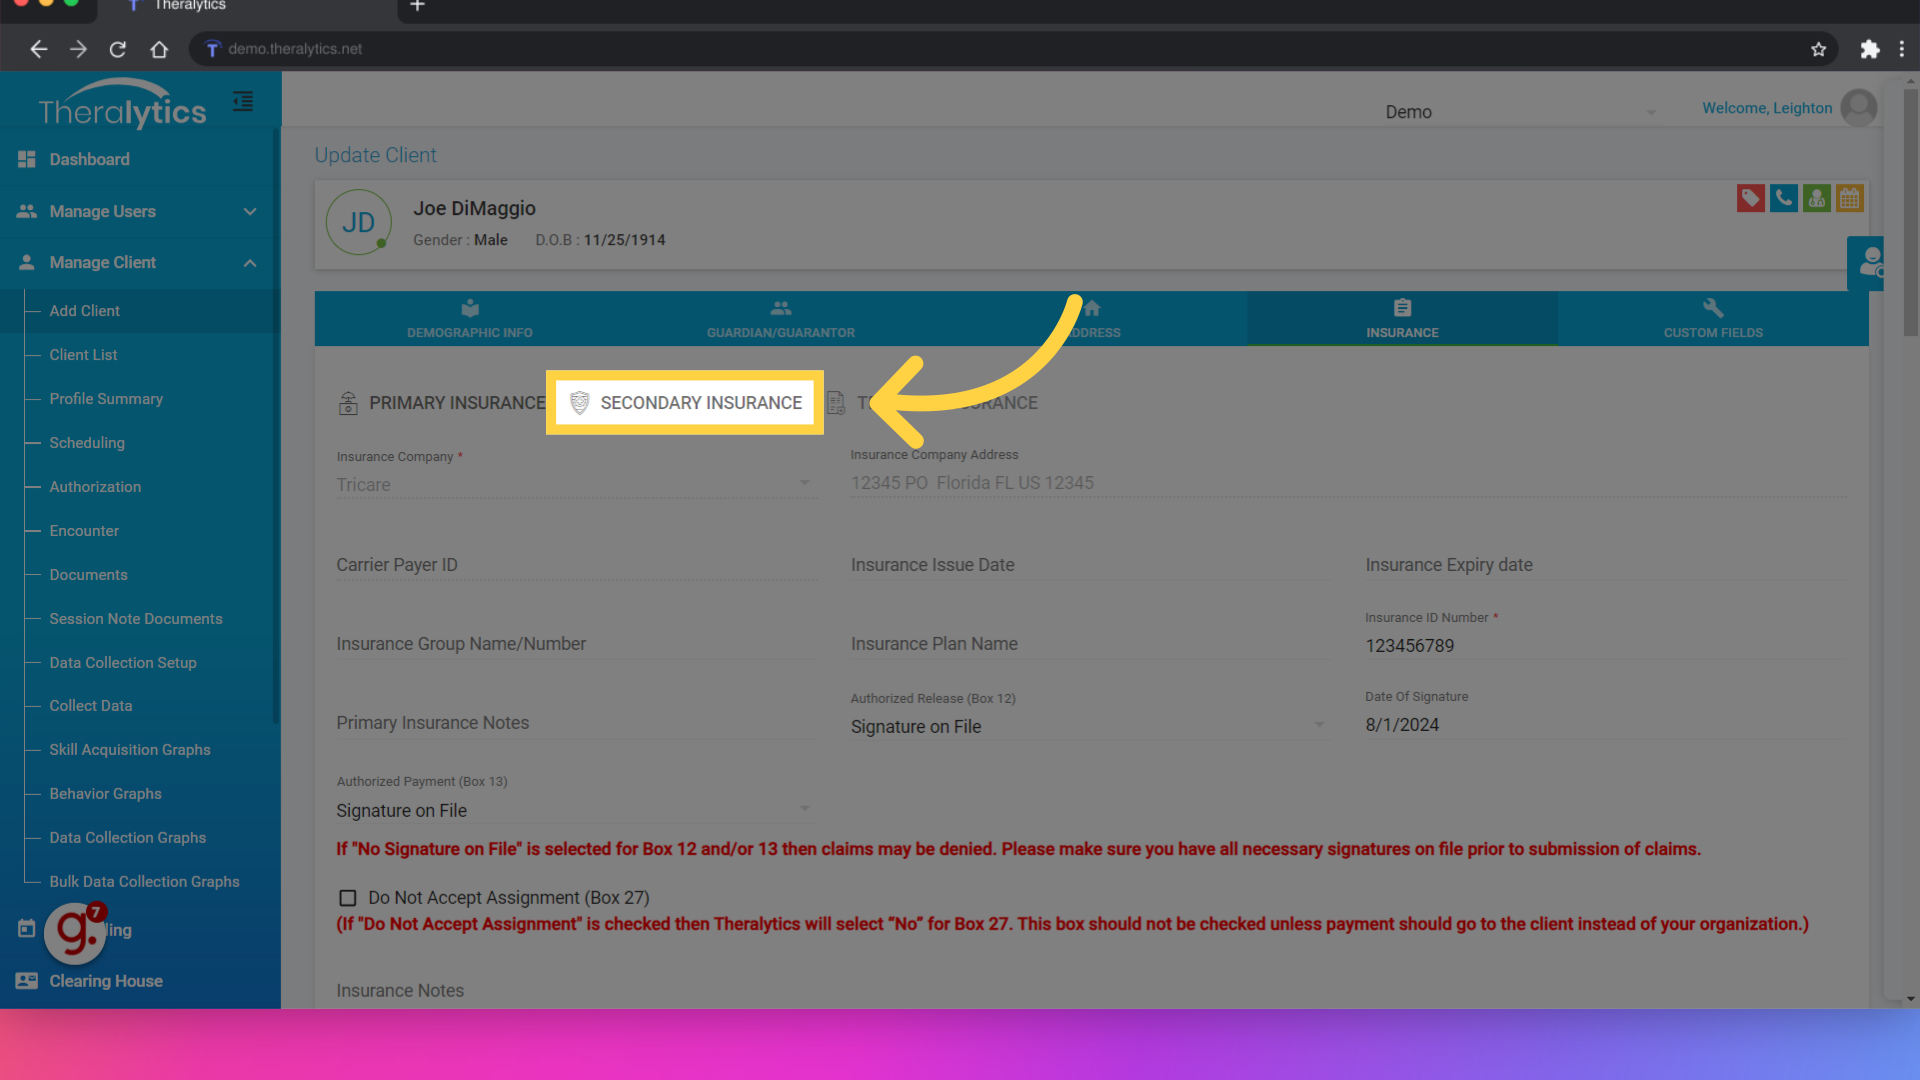
7. Click "Secondary Insurance"
From the Insurance tab, select Secondary Insurance.
8. Select the Insurer
Use the menu to chose the secondary payer from the list of payers that have been added to your database. If you do not see your payer here, you may need to add it under Manage Payer.

9. Enter the Insurance ID Number"
Make sure you set the client's insurance ID number. If you would like to track the start and end of coverage for this payer, you can also track those in the corresponding fields.

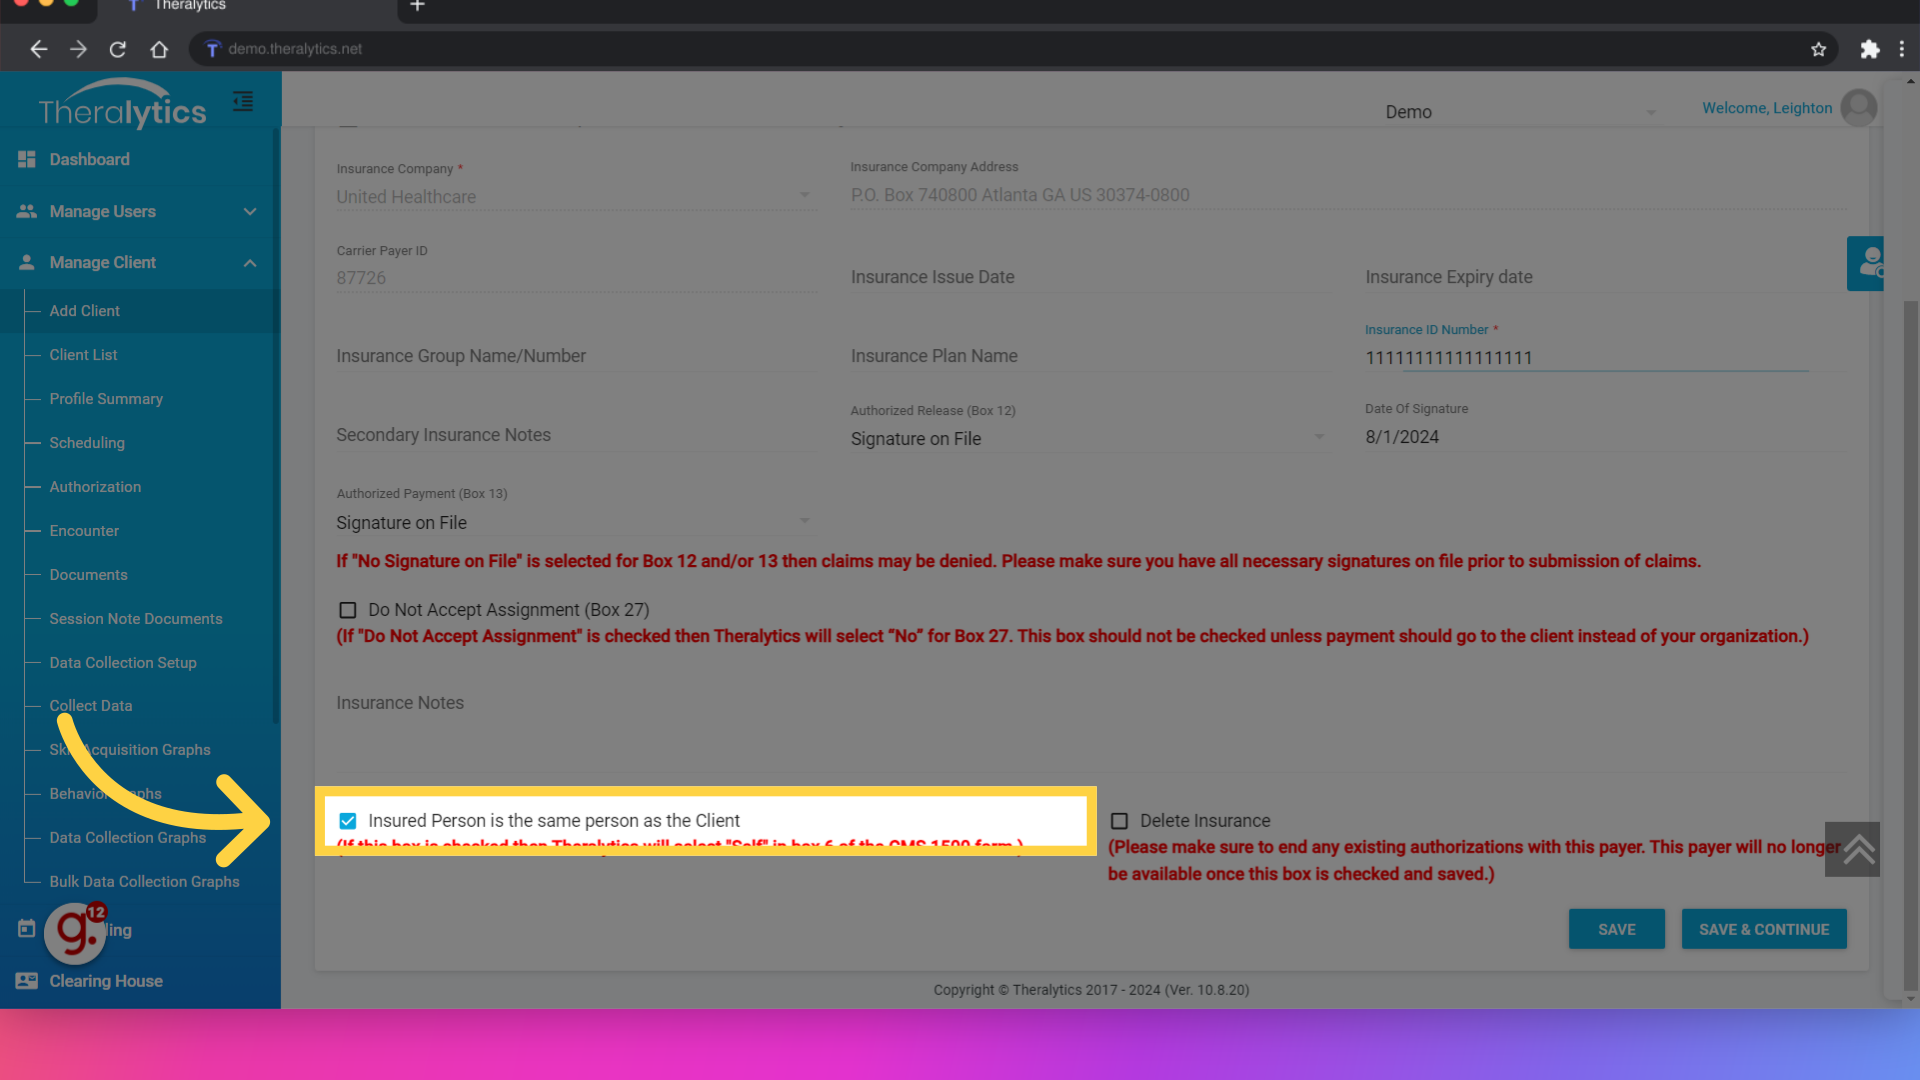
10. Enter the insured party information
If the insured party is also the client, click the checkbox. If the insurance is in the name of the parent or guardian, uncheck the box and enter their information here.
11. Click "Authorization"
Now that the client's secondary payer has been set up, we can enter the client's secondary authorization (if the payer requires this). Click the authorization tab under Manage Client.
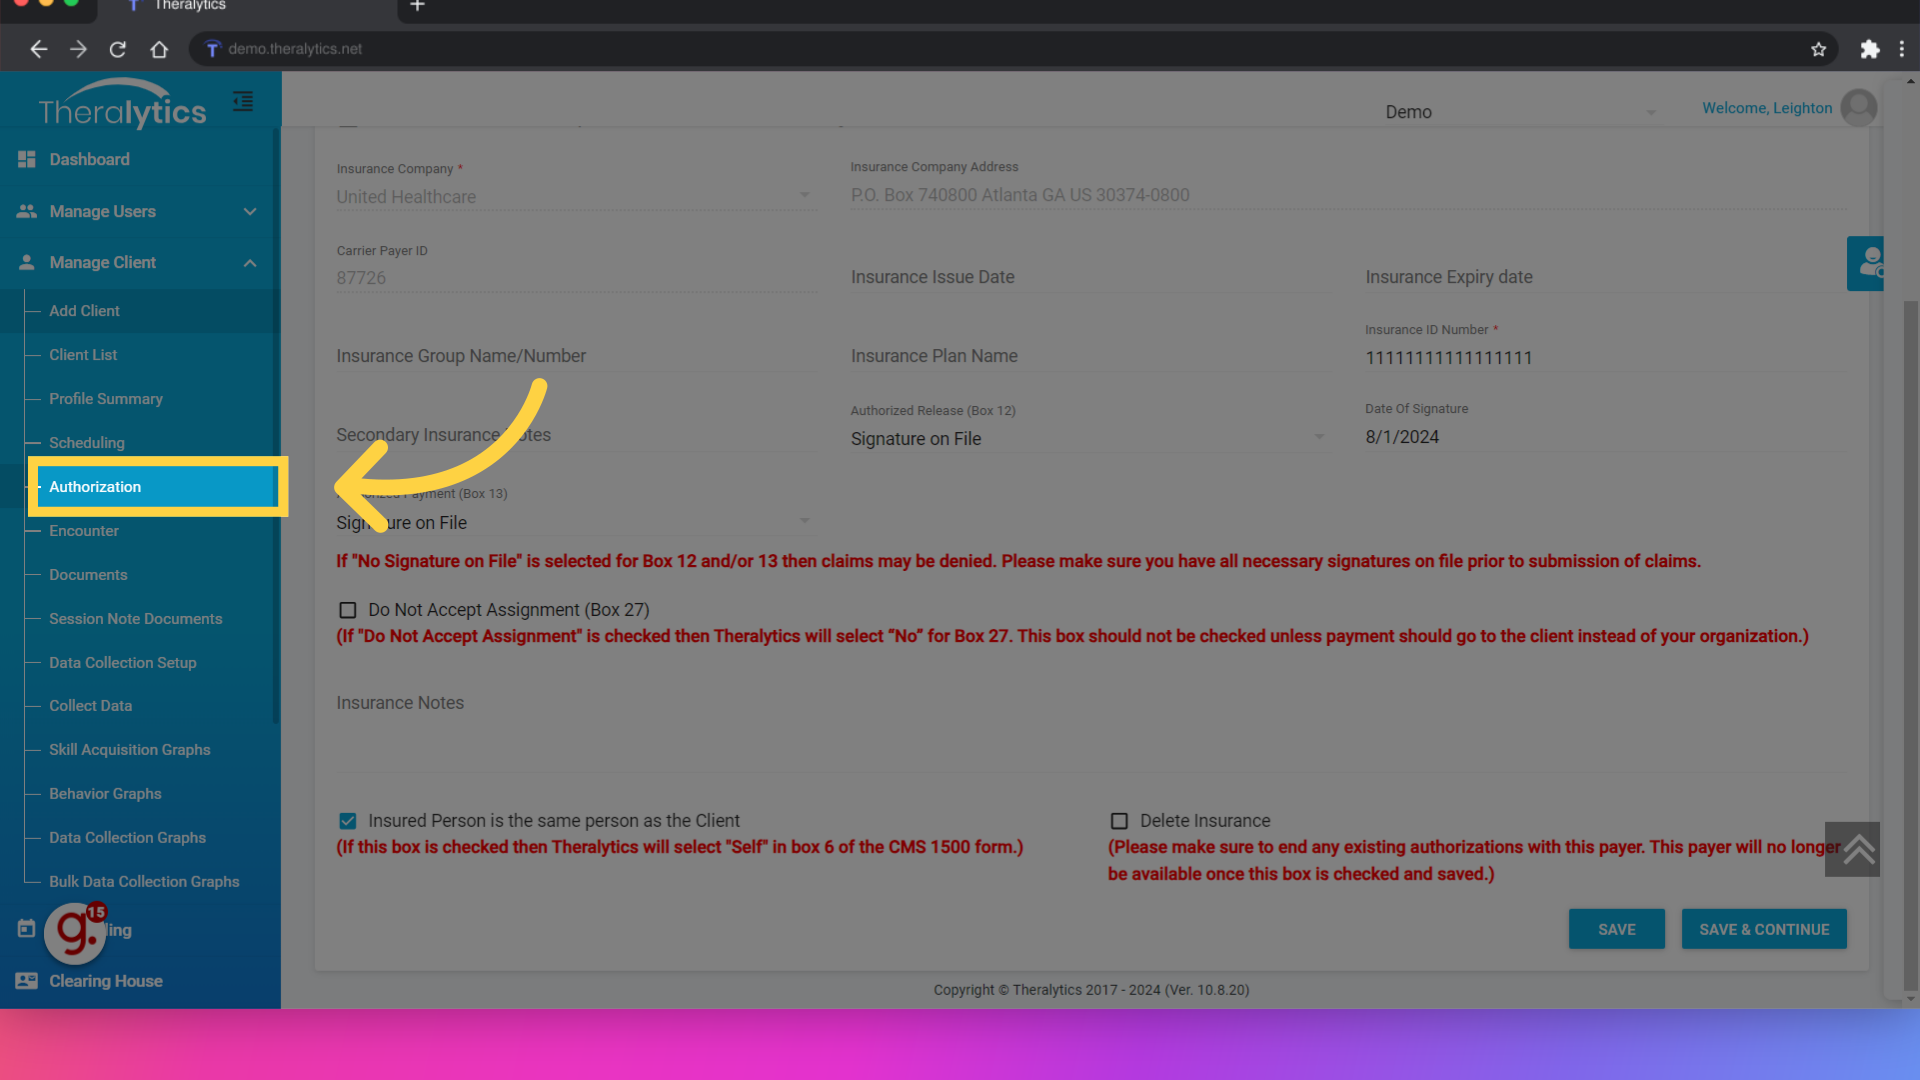
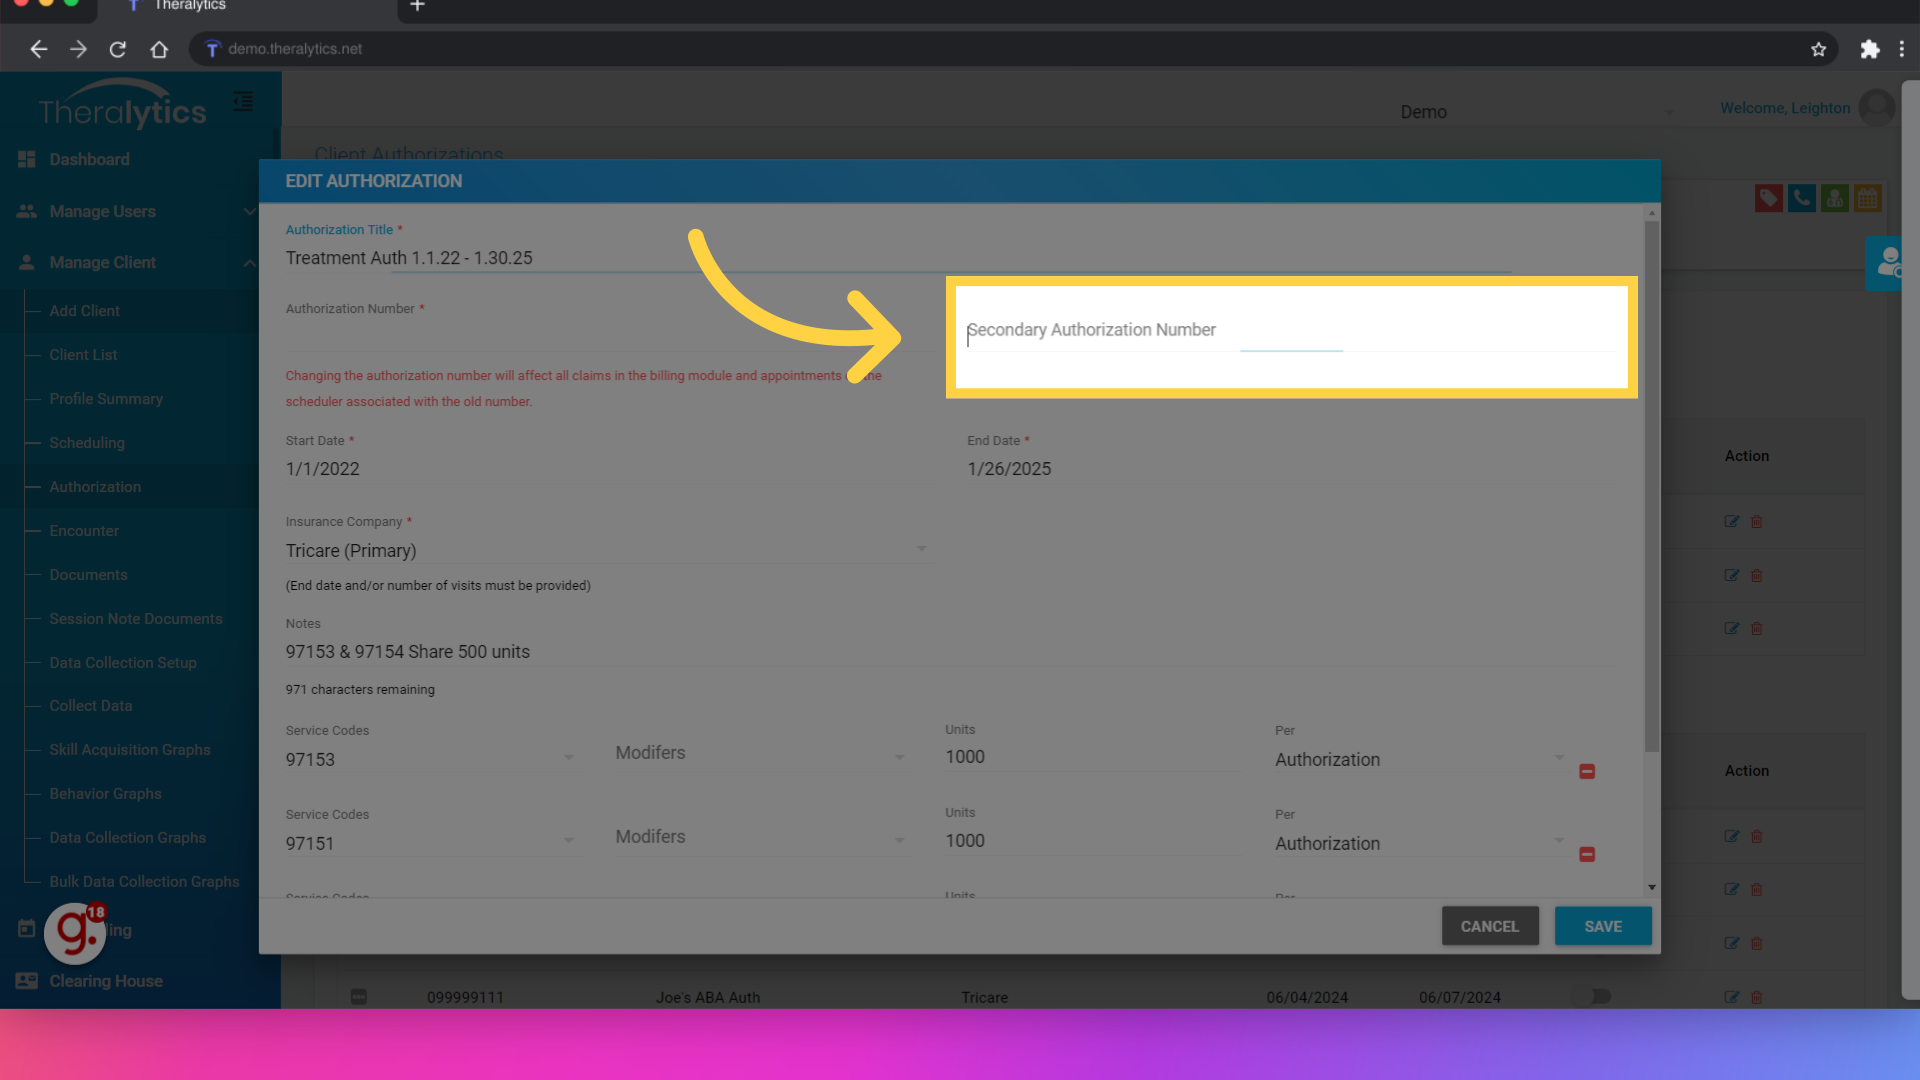
12. Enter the Secondary Auth number if needed
Enter secondary authorization number in the corresponding field on the primary authorization and click save.
13. Click "Manage Payer"
Now that the client's info has been set up, lets make sure our payers are set up for secondary billing. We will just need to make sure that both payers have the same Payer Activity set up before we schedule. Start with the Manage Payer option.
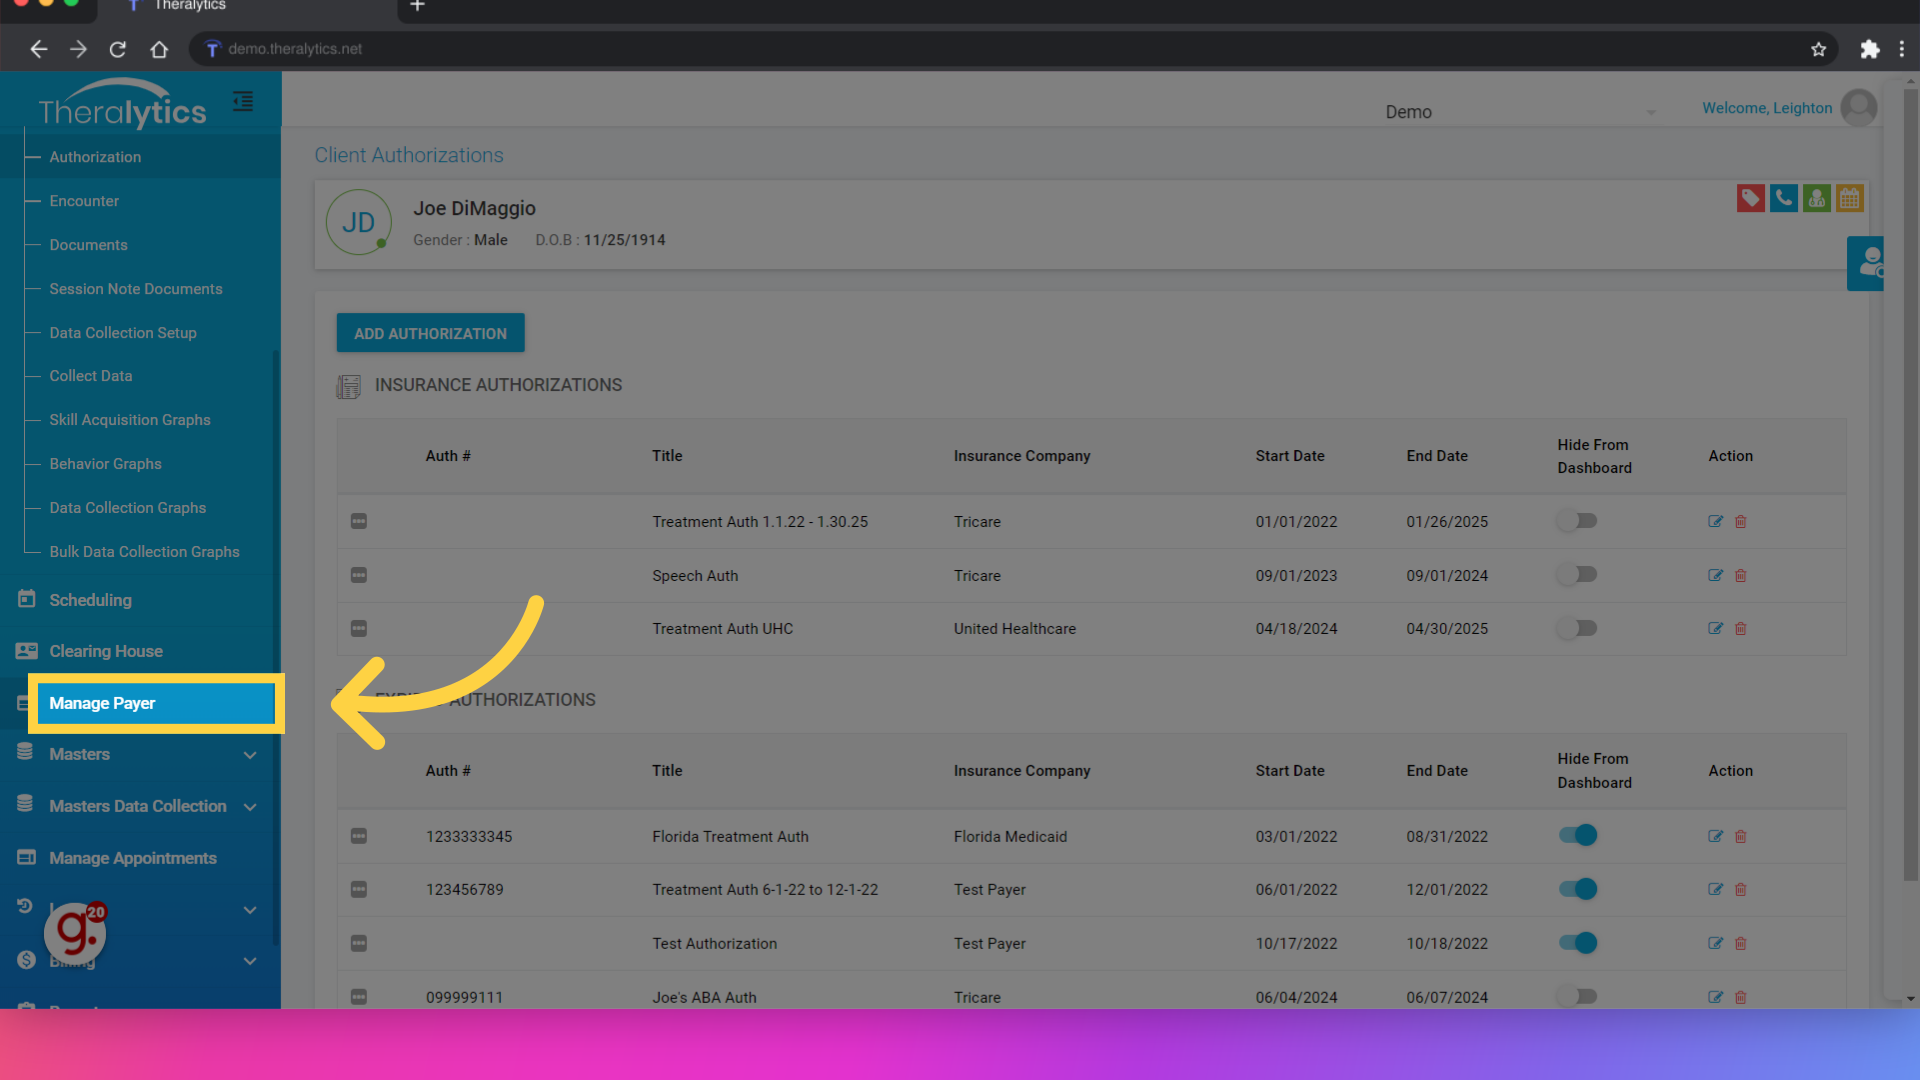
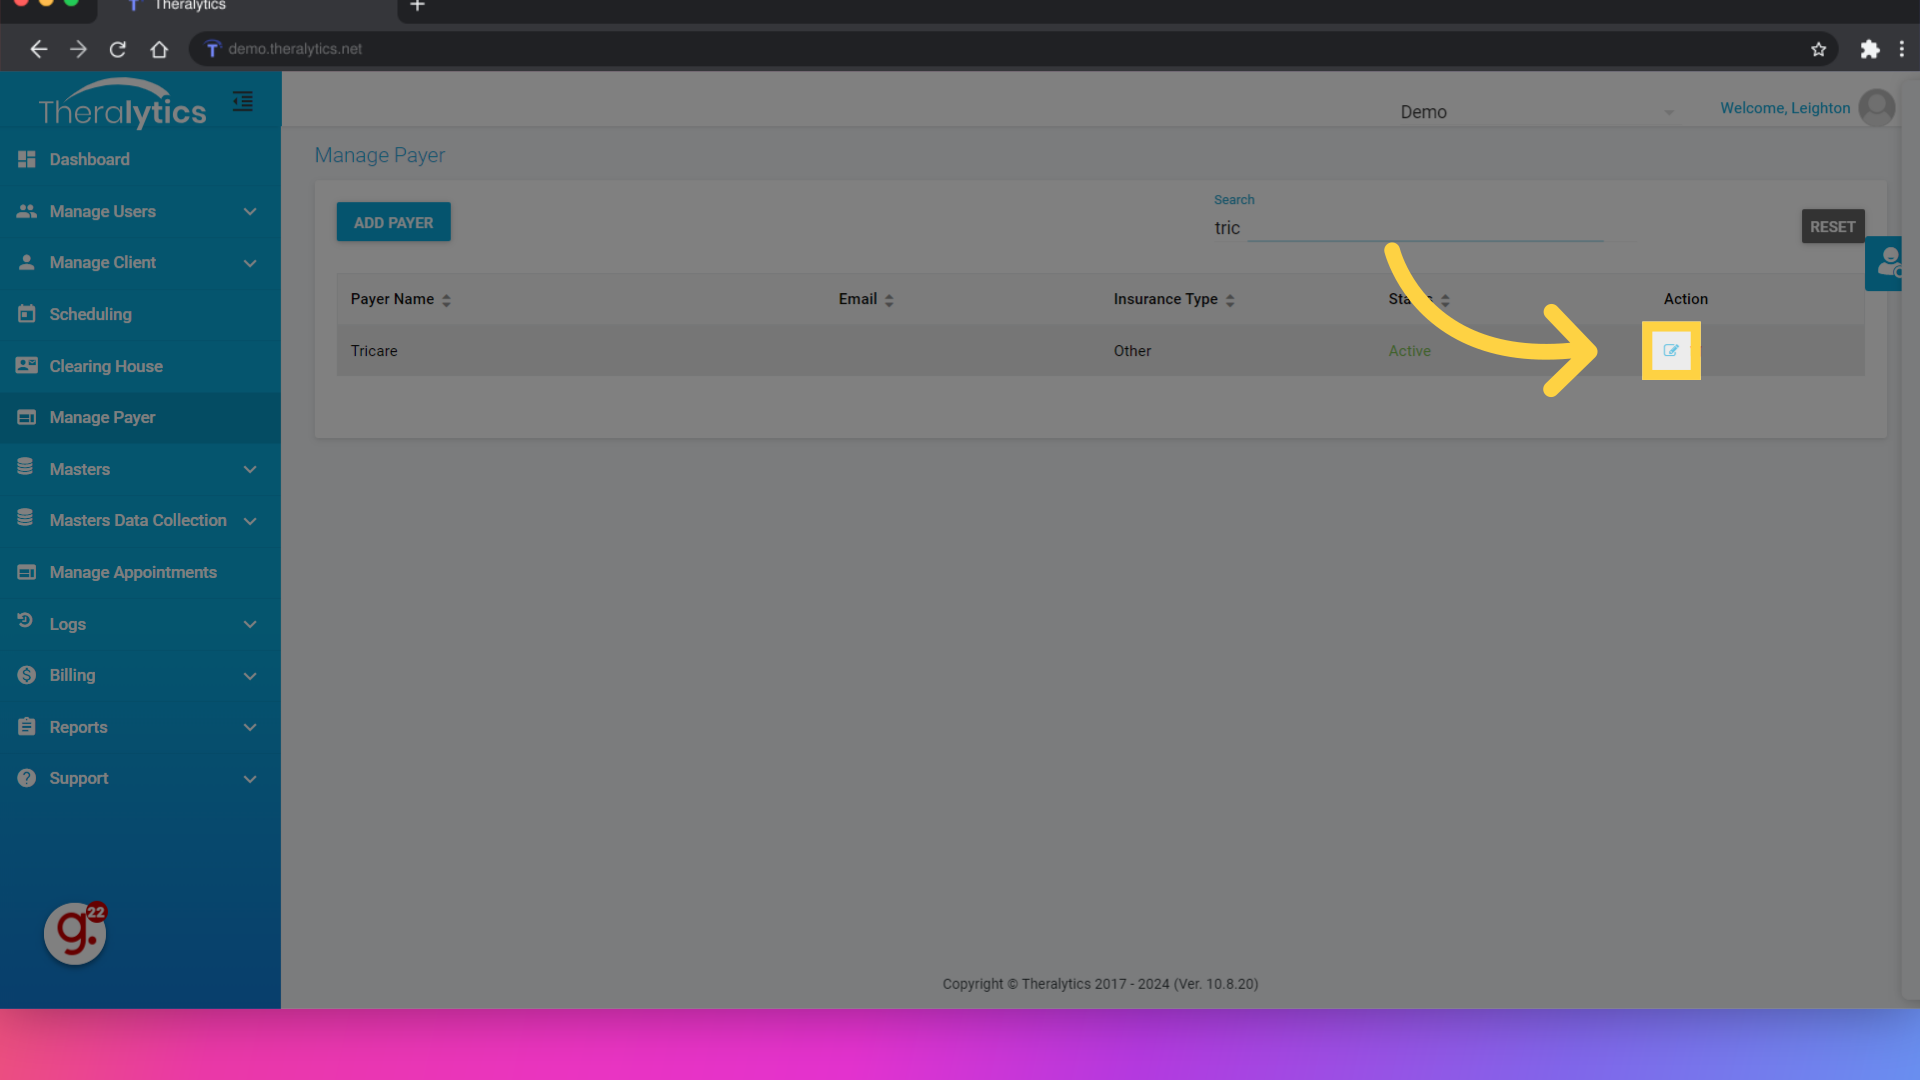
14. Click here
Locate your primary payer and click the edit option to view the payer info.
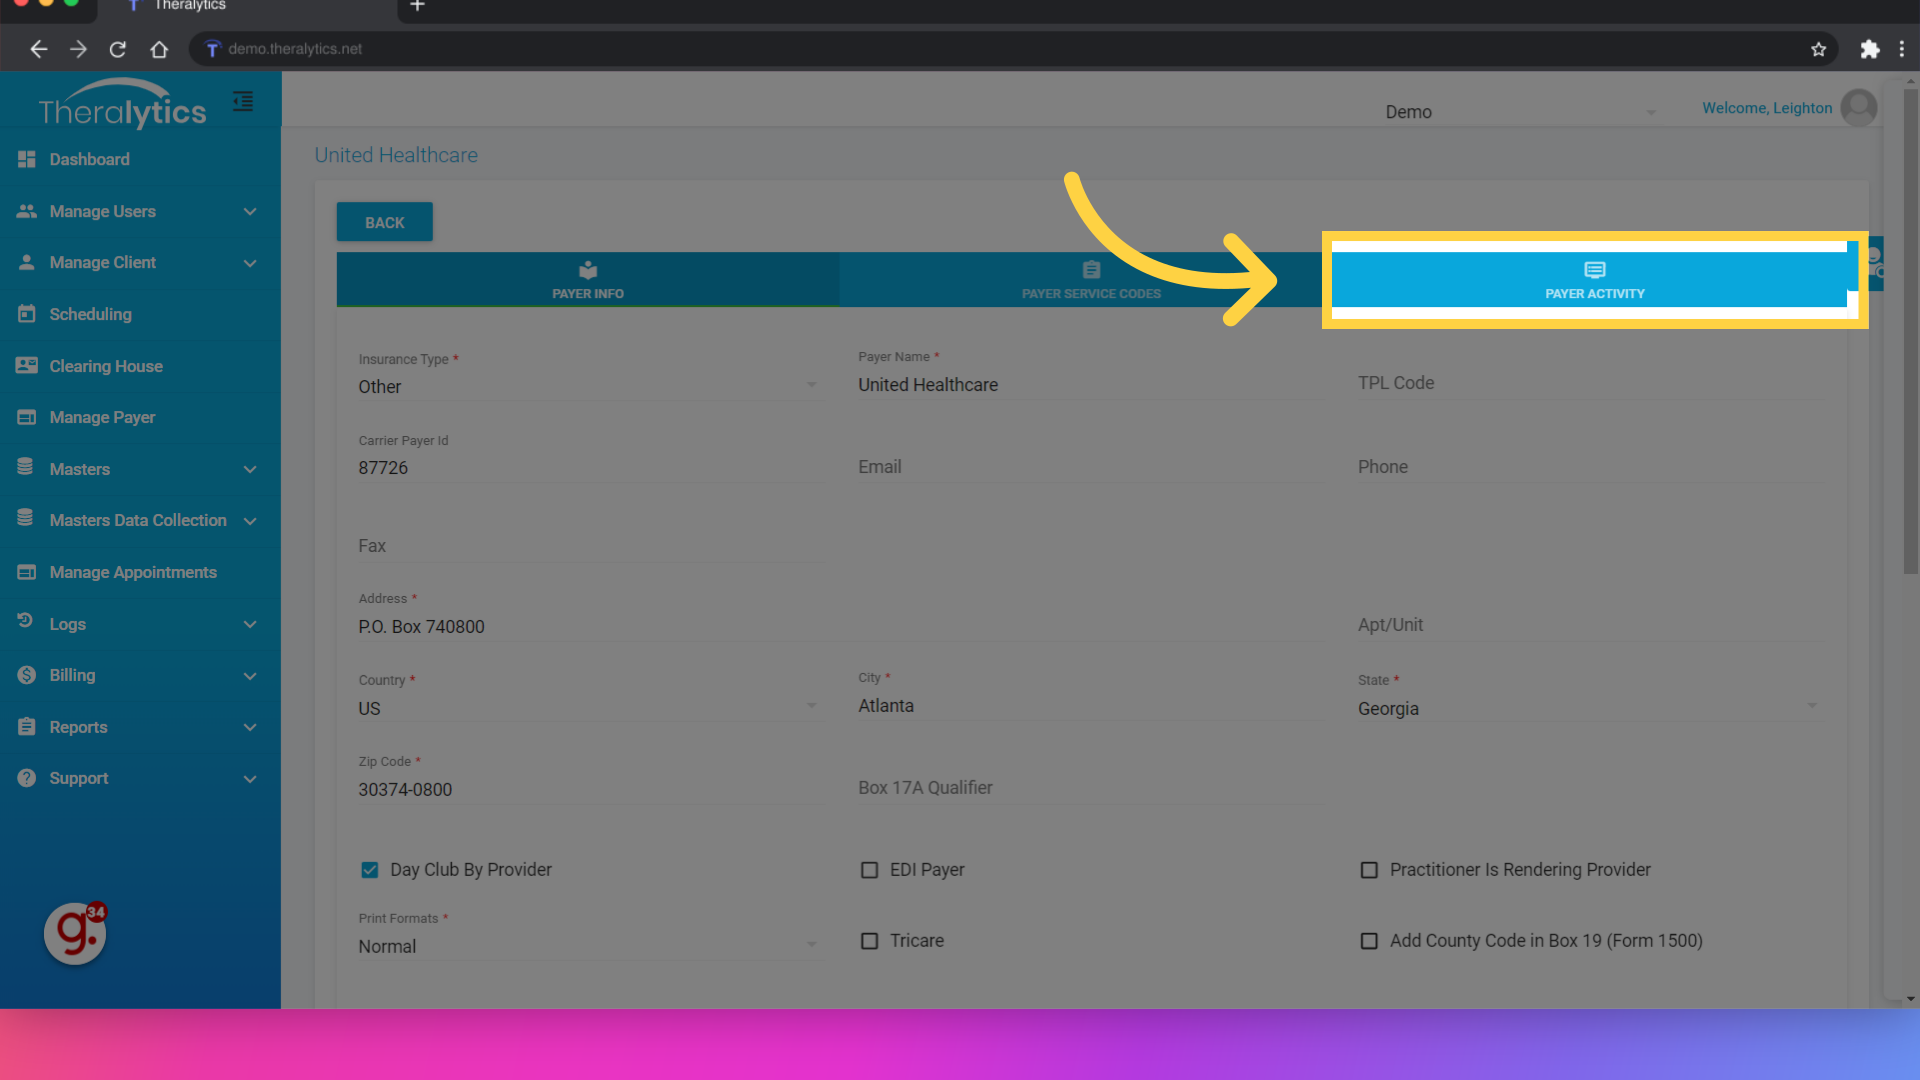
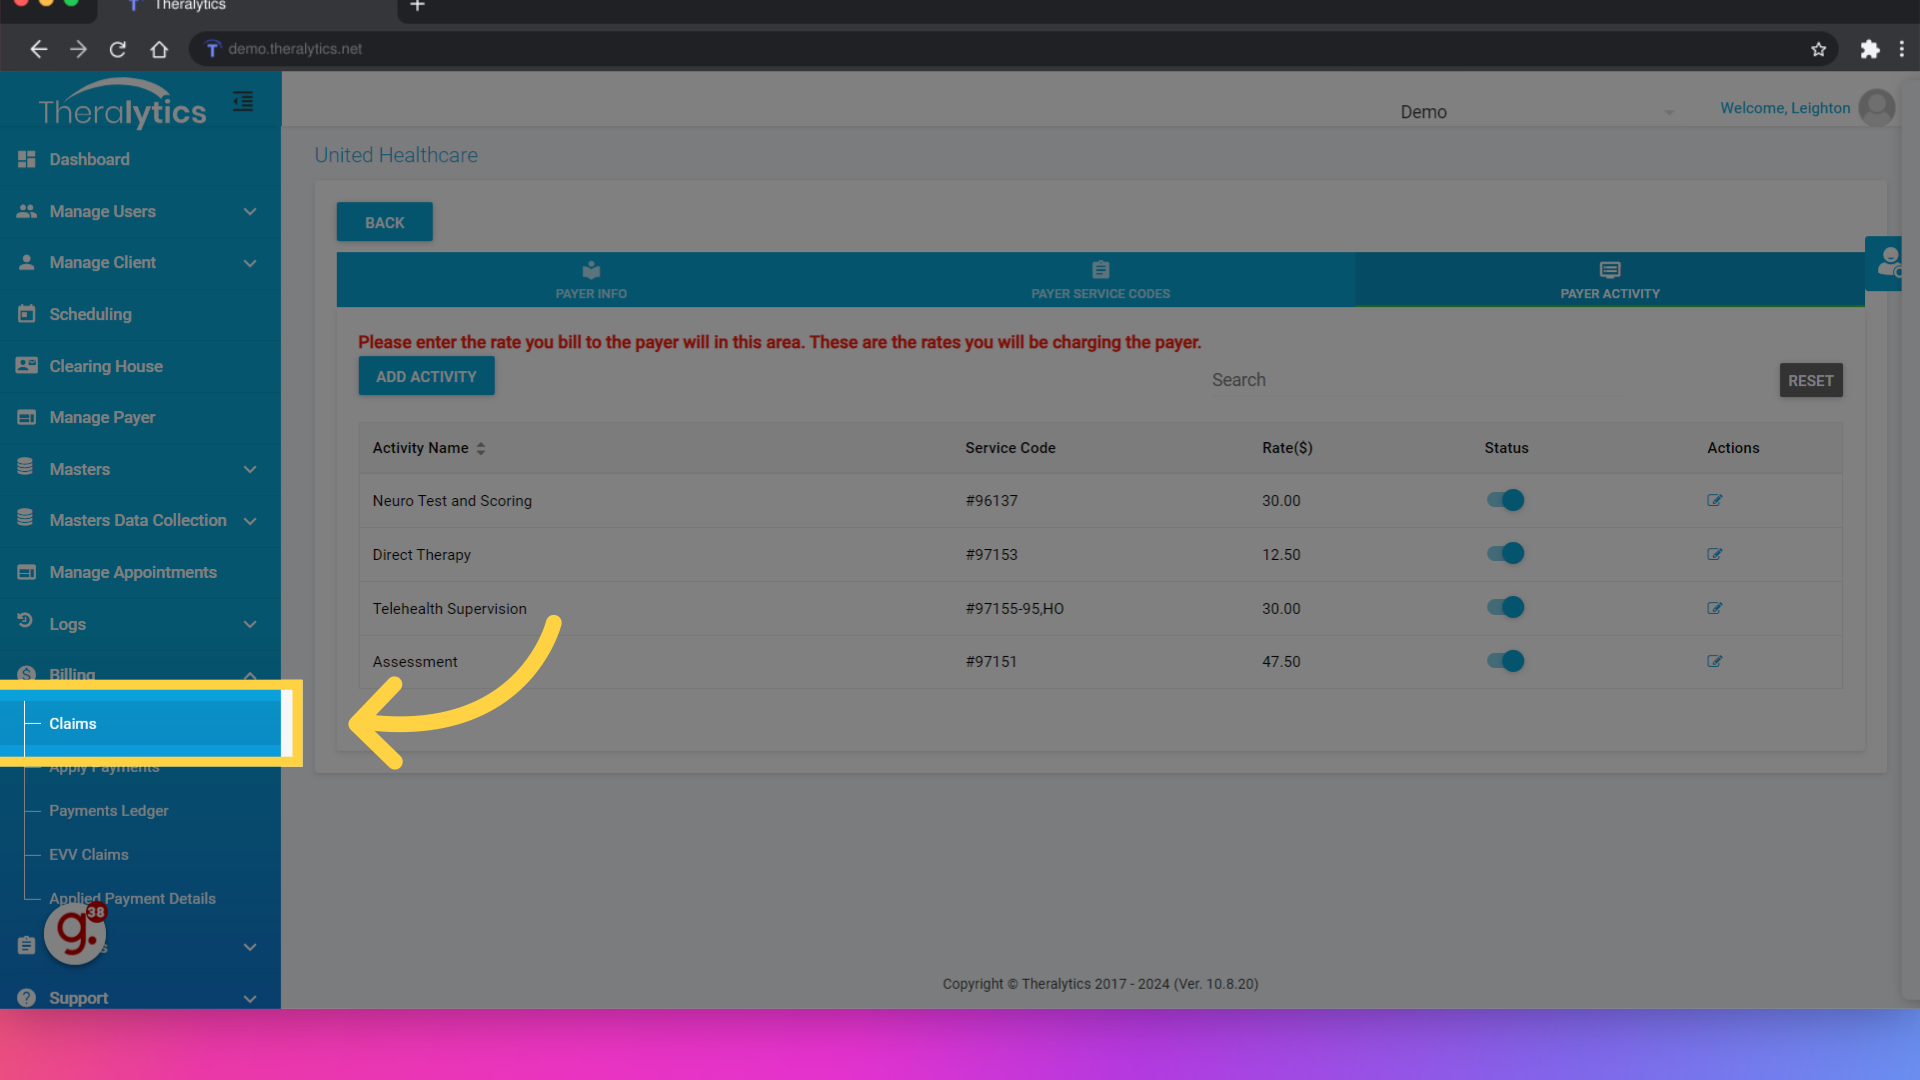
15. Click "Payer Activity"
Select the Payer Acitivity tab to review the list of billable activities.

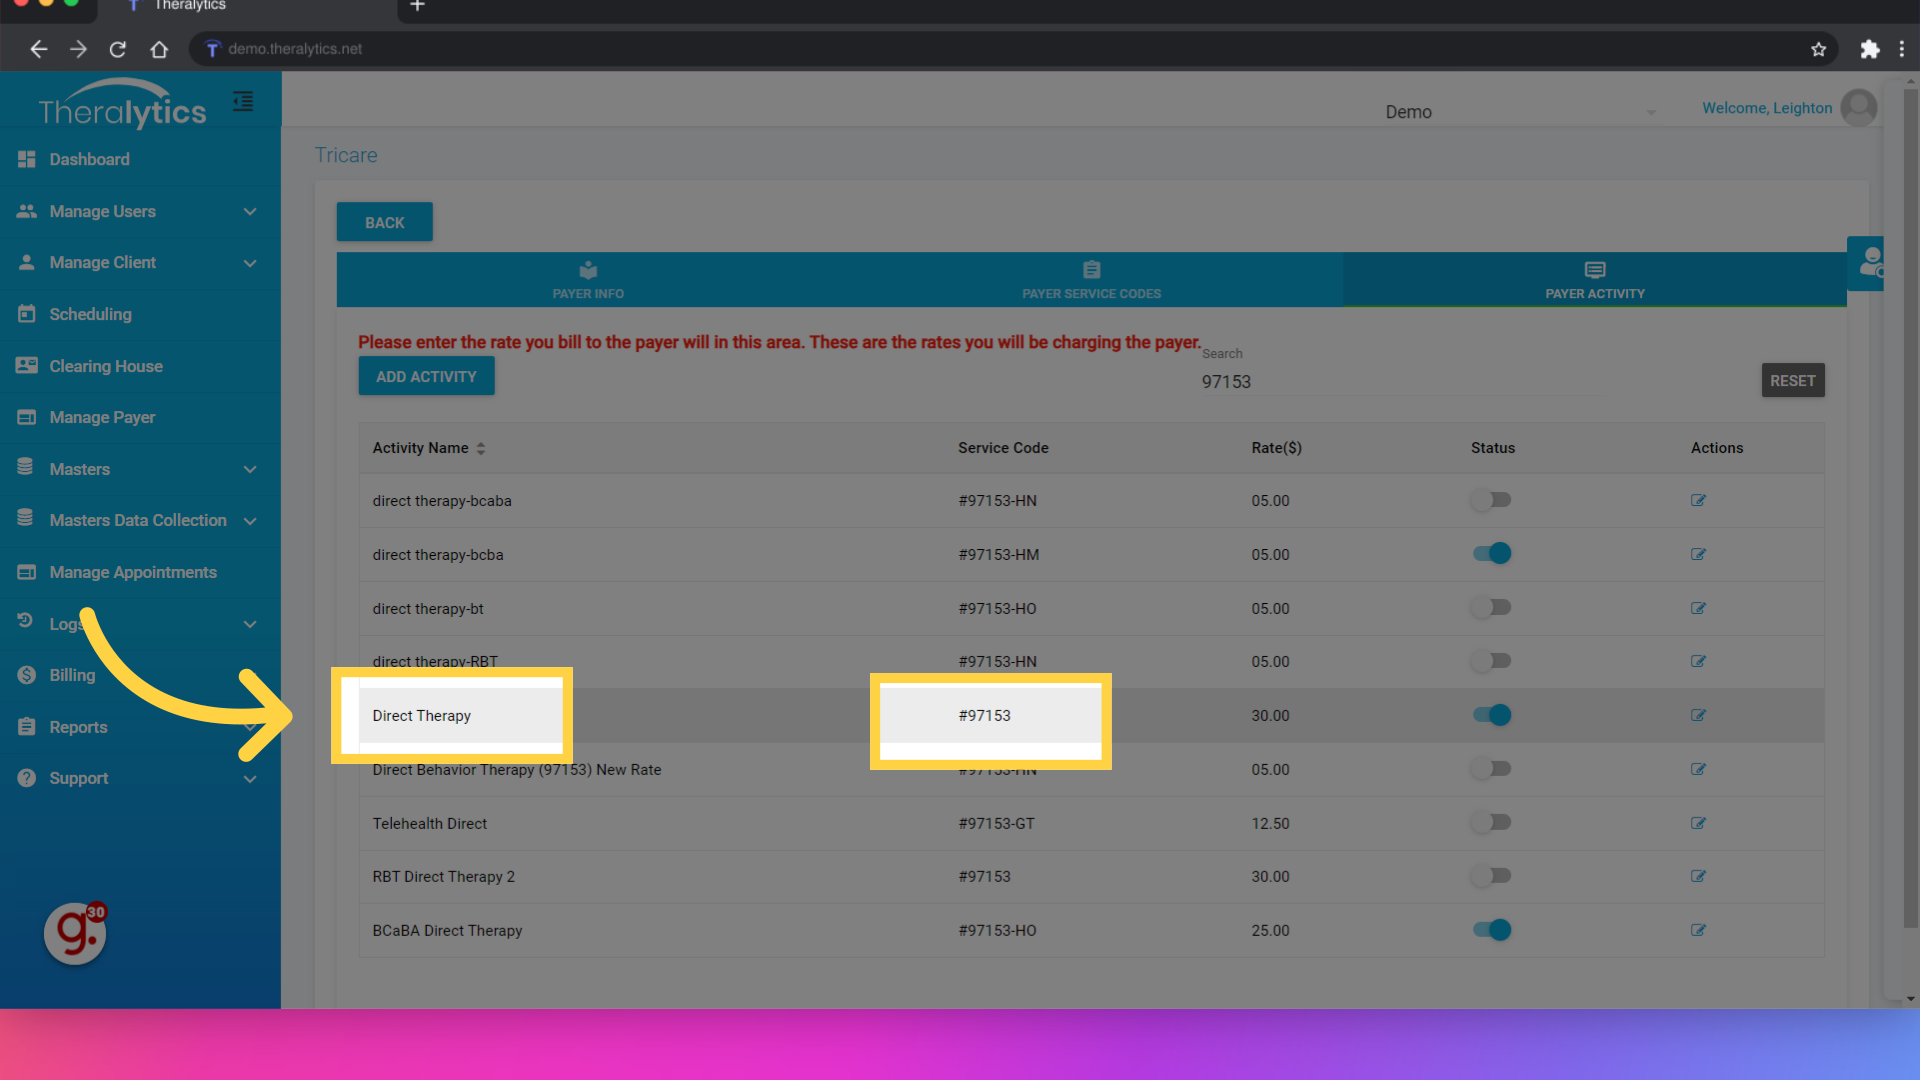
16. Make a note of the Appointment name and the service code for the Primary payer
We'll be billing a direct service appointment, so on the primary payer you'll need to make sure that you have a direct service appointment type active. Make a note of the appointment name and the service code.
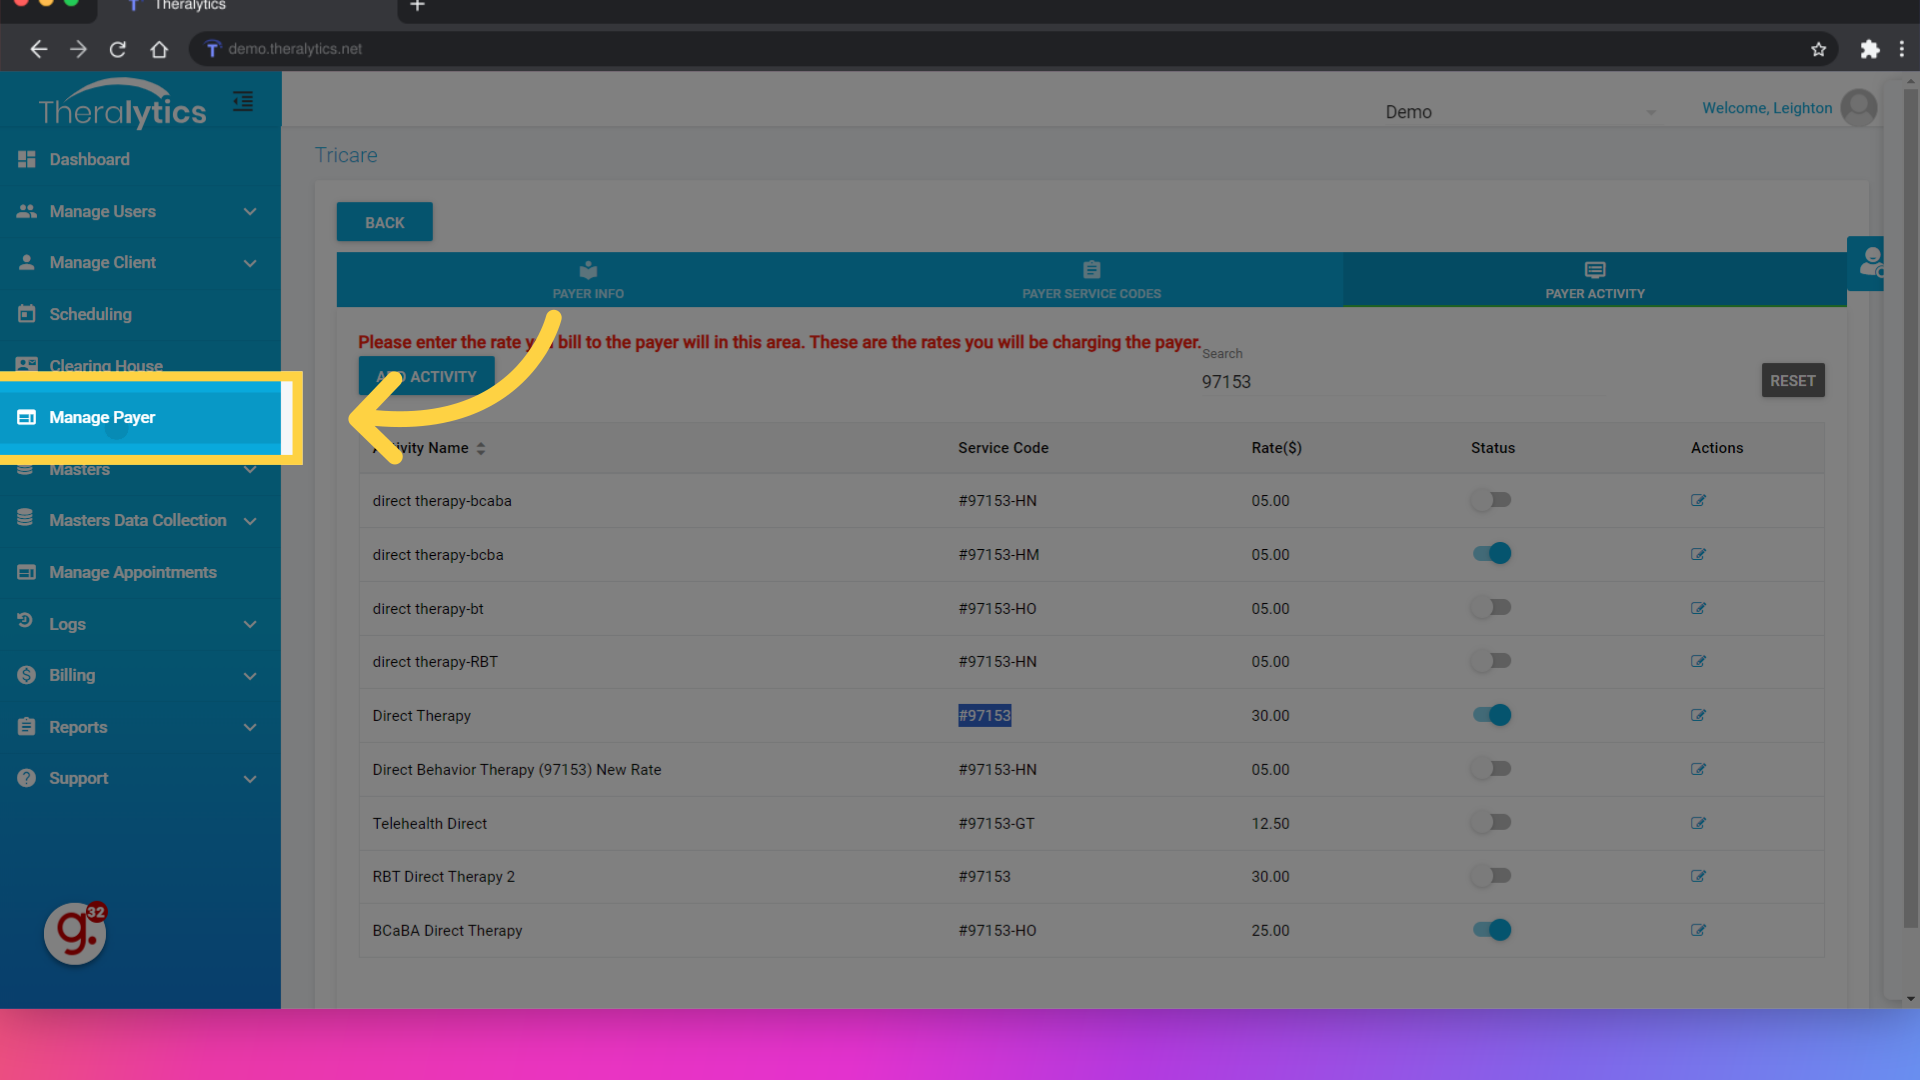
17. Click "Manage Payer"
Let's now check the secondary payer. We'll go back to the Manage Payer Area.
18. Click here
Click edit on the secondary payer.

19. Click Payer Activity
View the payer activities for the secondary payer.
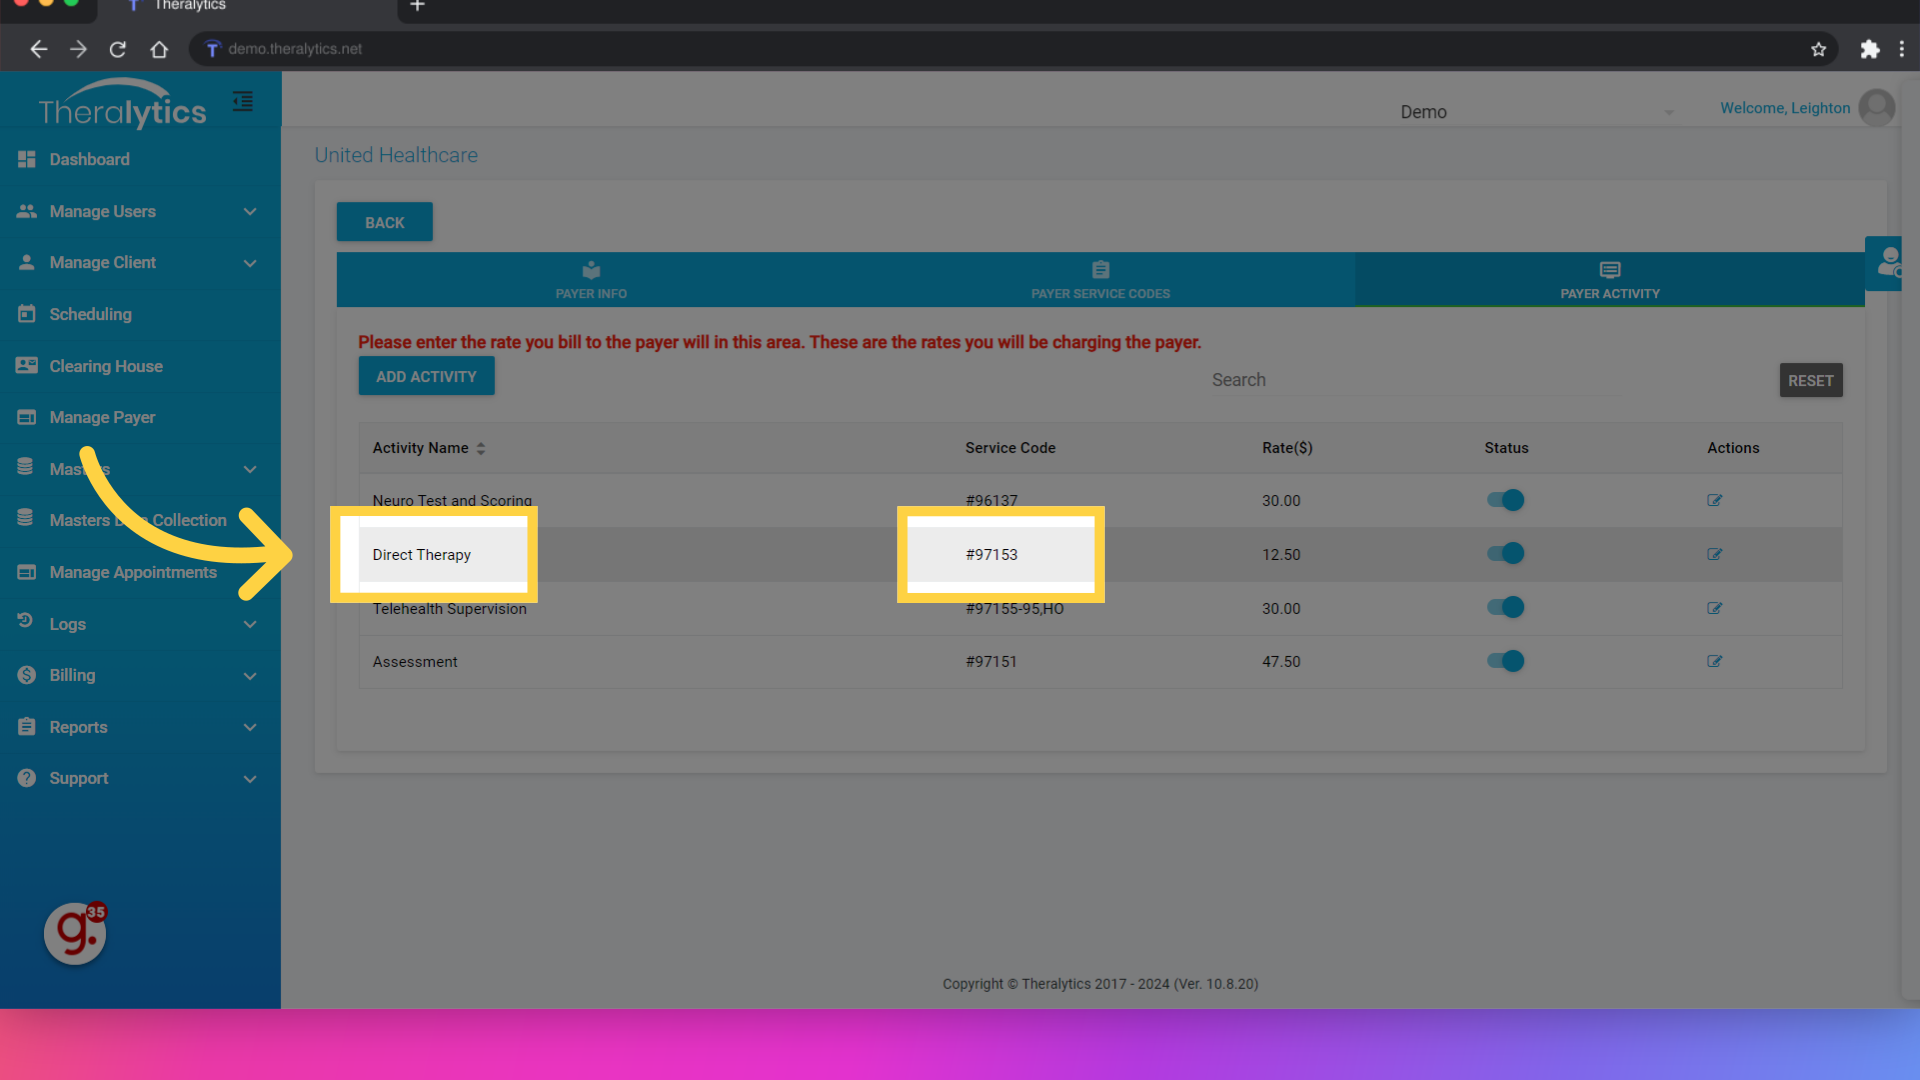
20. Review the Appointment name and Service Code for the secondary payer
Make sure that you have an exact copy of the activity you are billing on the primary payer. For example, since we are billing a Direct Therapy appointment with the primary, I need to make sure I have an activity with the name "Direct Therapy" and the service code 97153 on the secondary.
21. Click "Billing"
Now that the payer and client info has been set up, let's go over the submission process. First navigate to the billing tab.

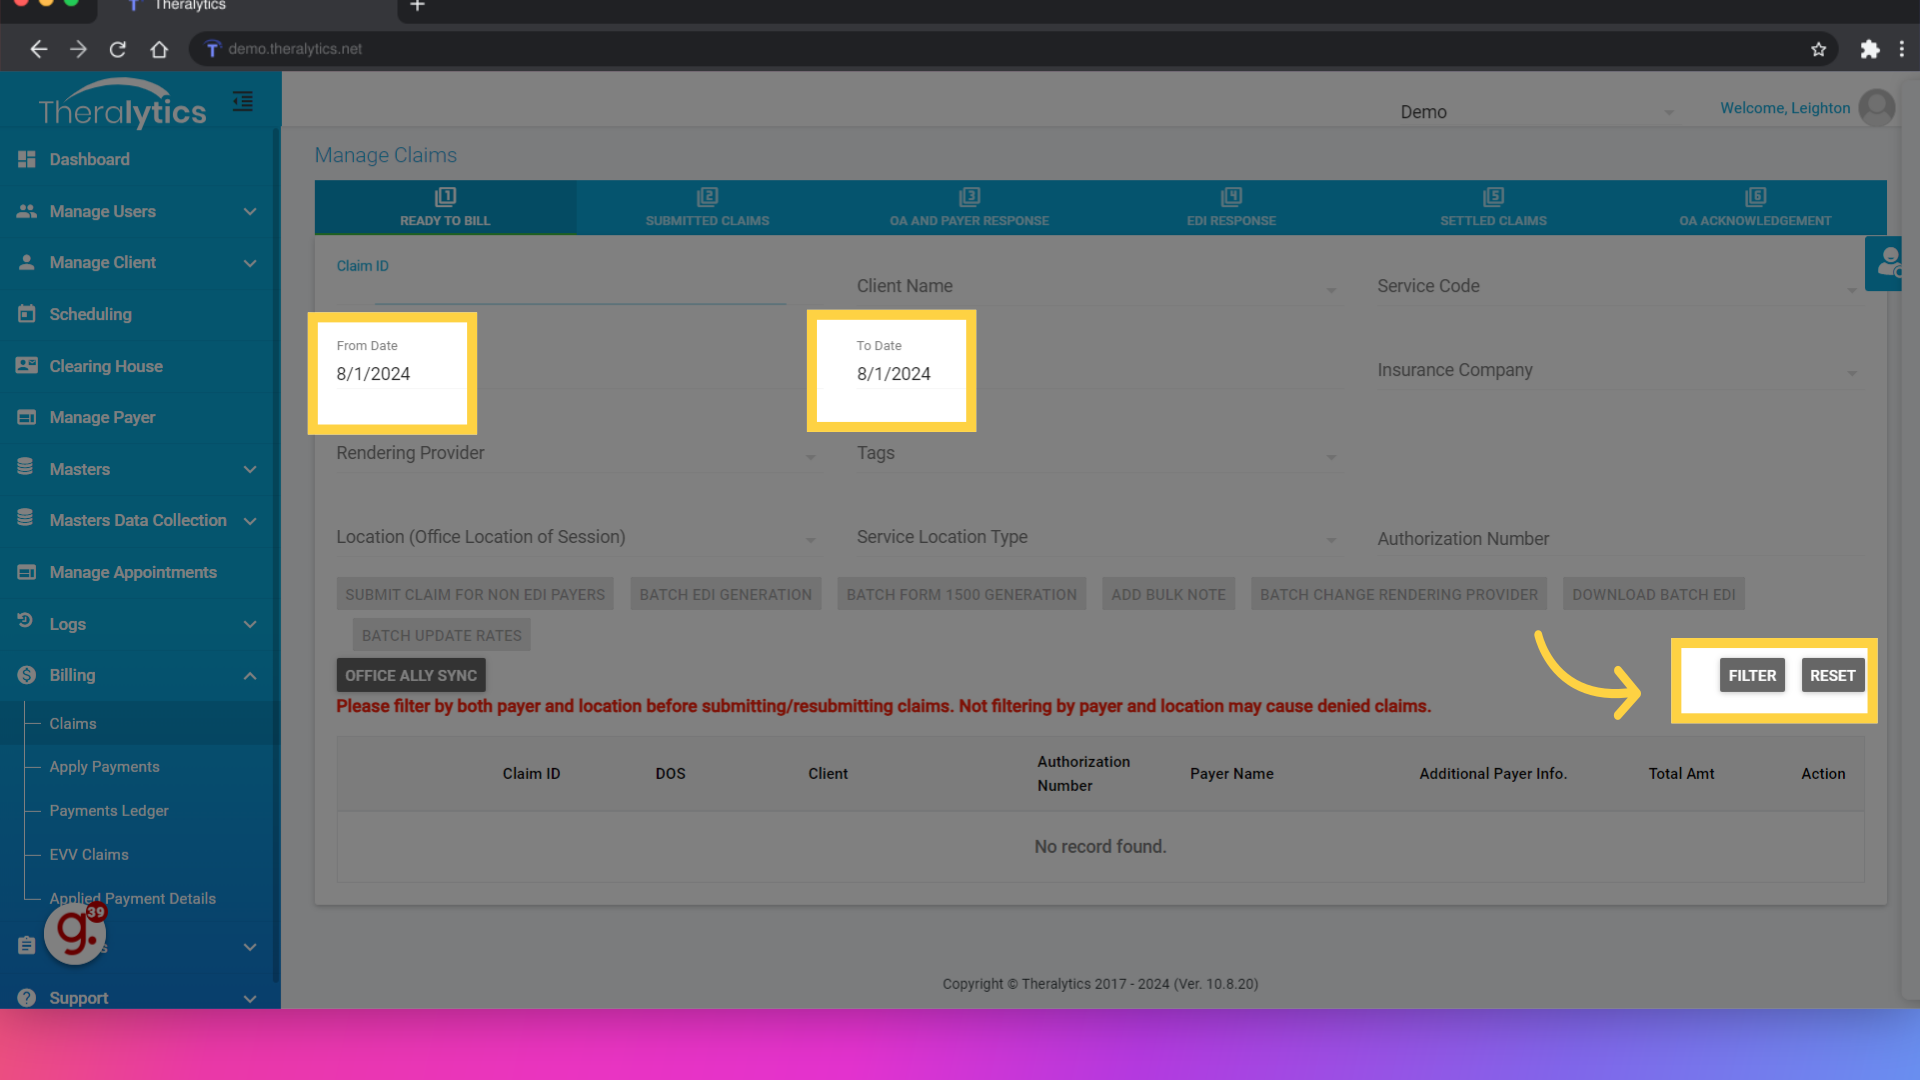
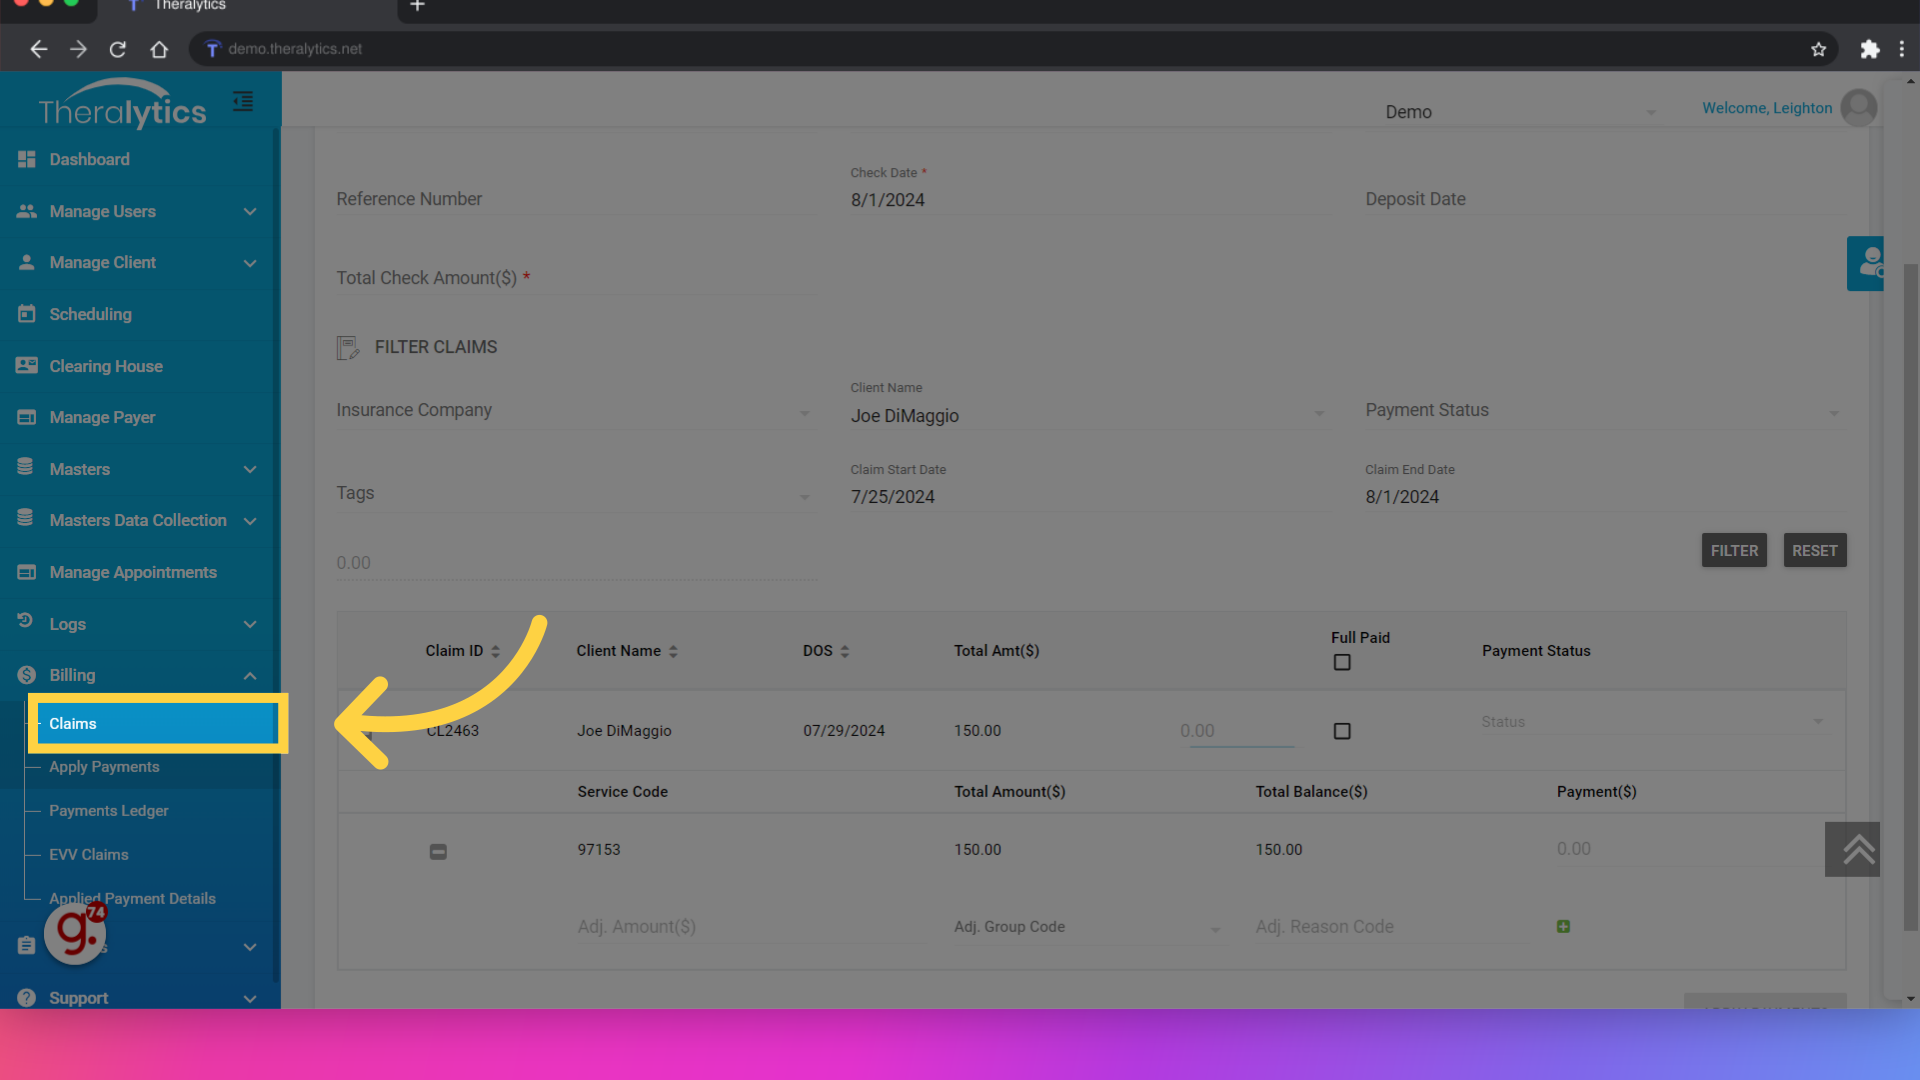
22. Click "Claims"
Next select the Claims option.
23. Use the date filter to locate your claims
Use the filters to locate the claim you are submitting to the primary payer.
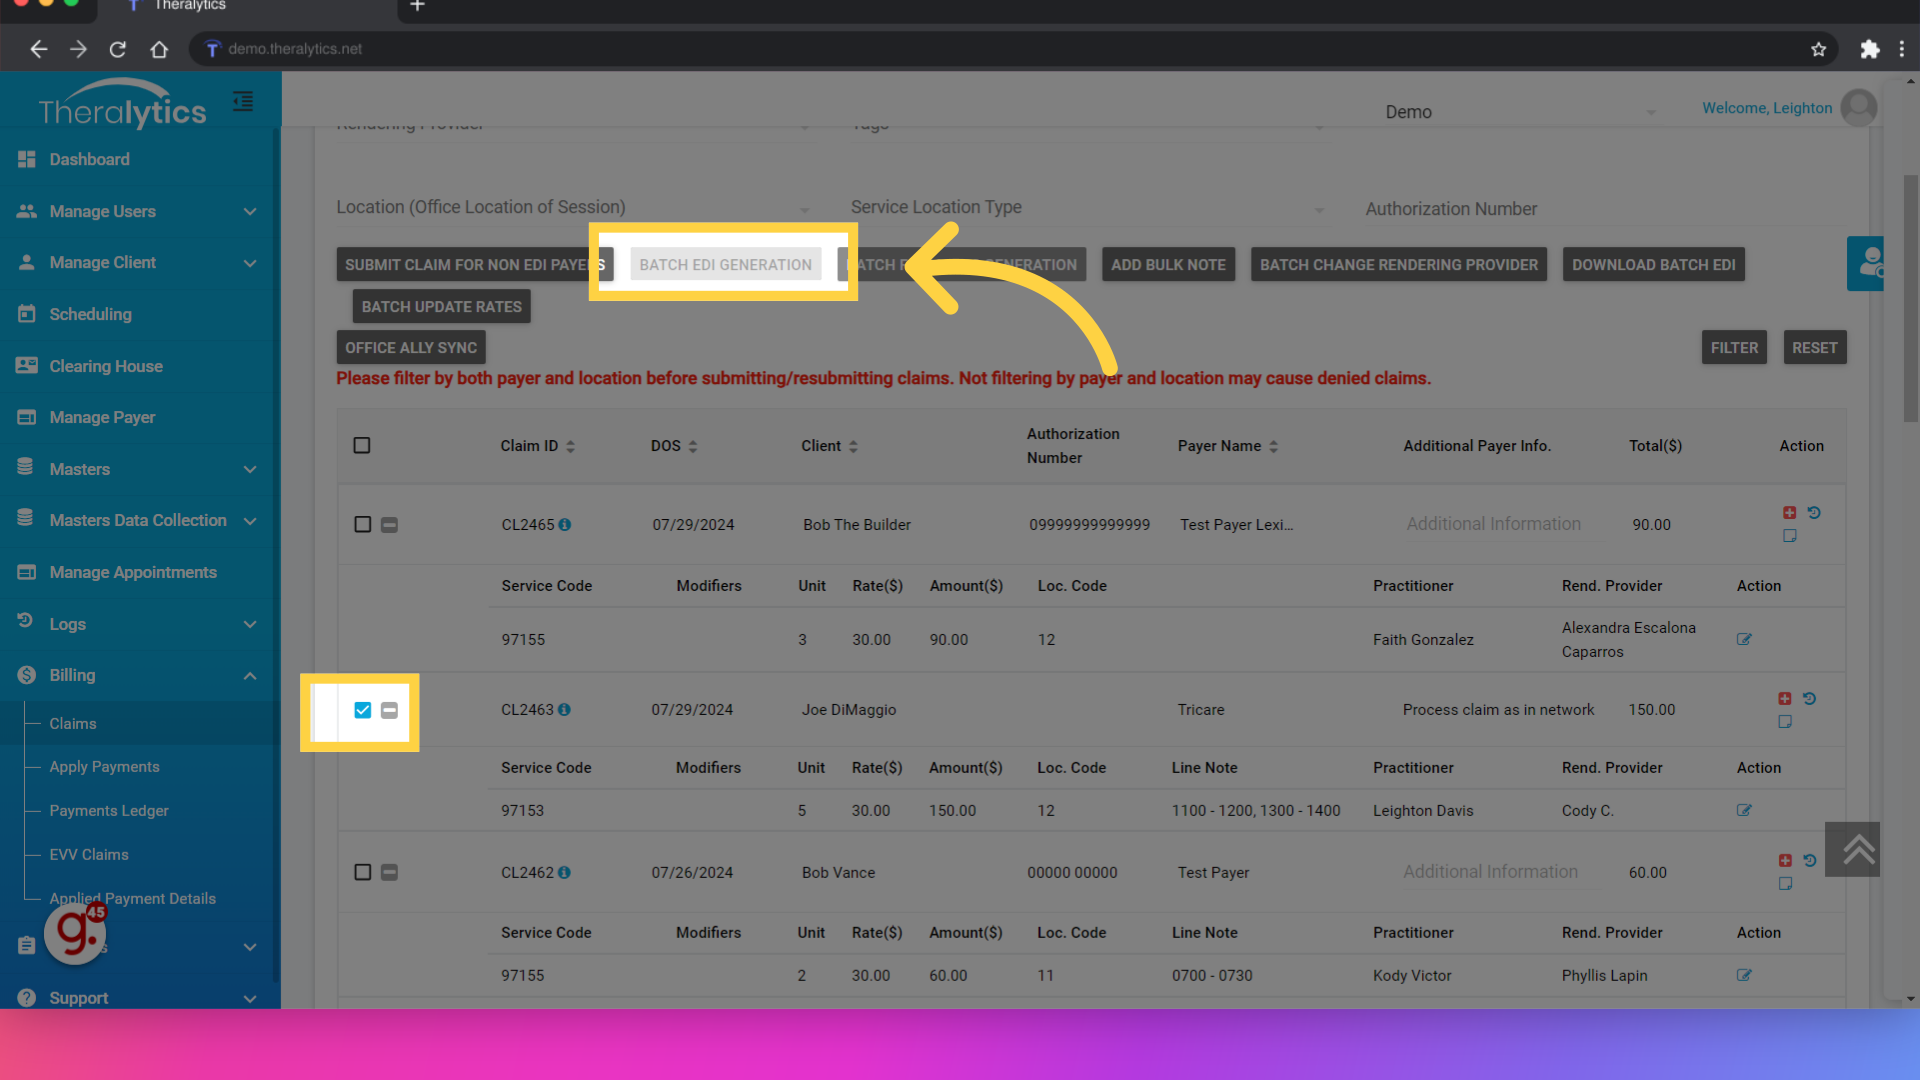
24. Use the Batch EDI Generation button to send the claim to the clearinghouse.
To submit the claim, use the Batch EDI Generation button. This will submit the claim to the clearinghouse.
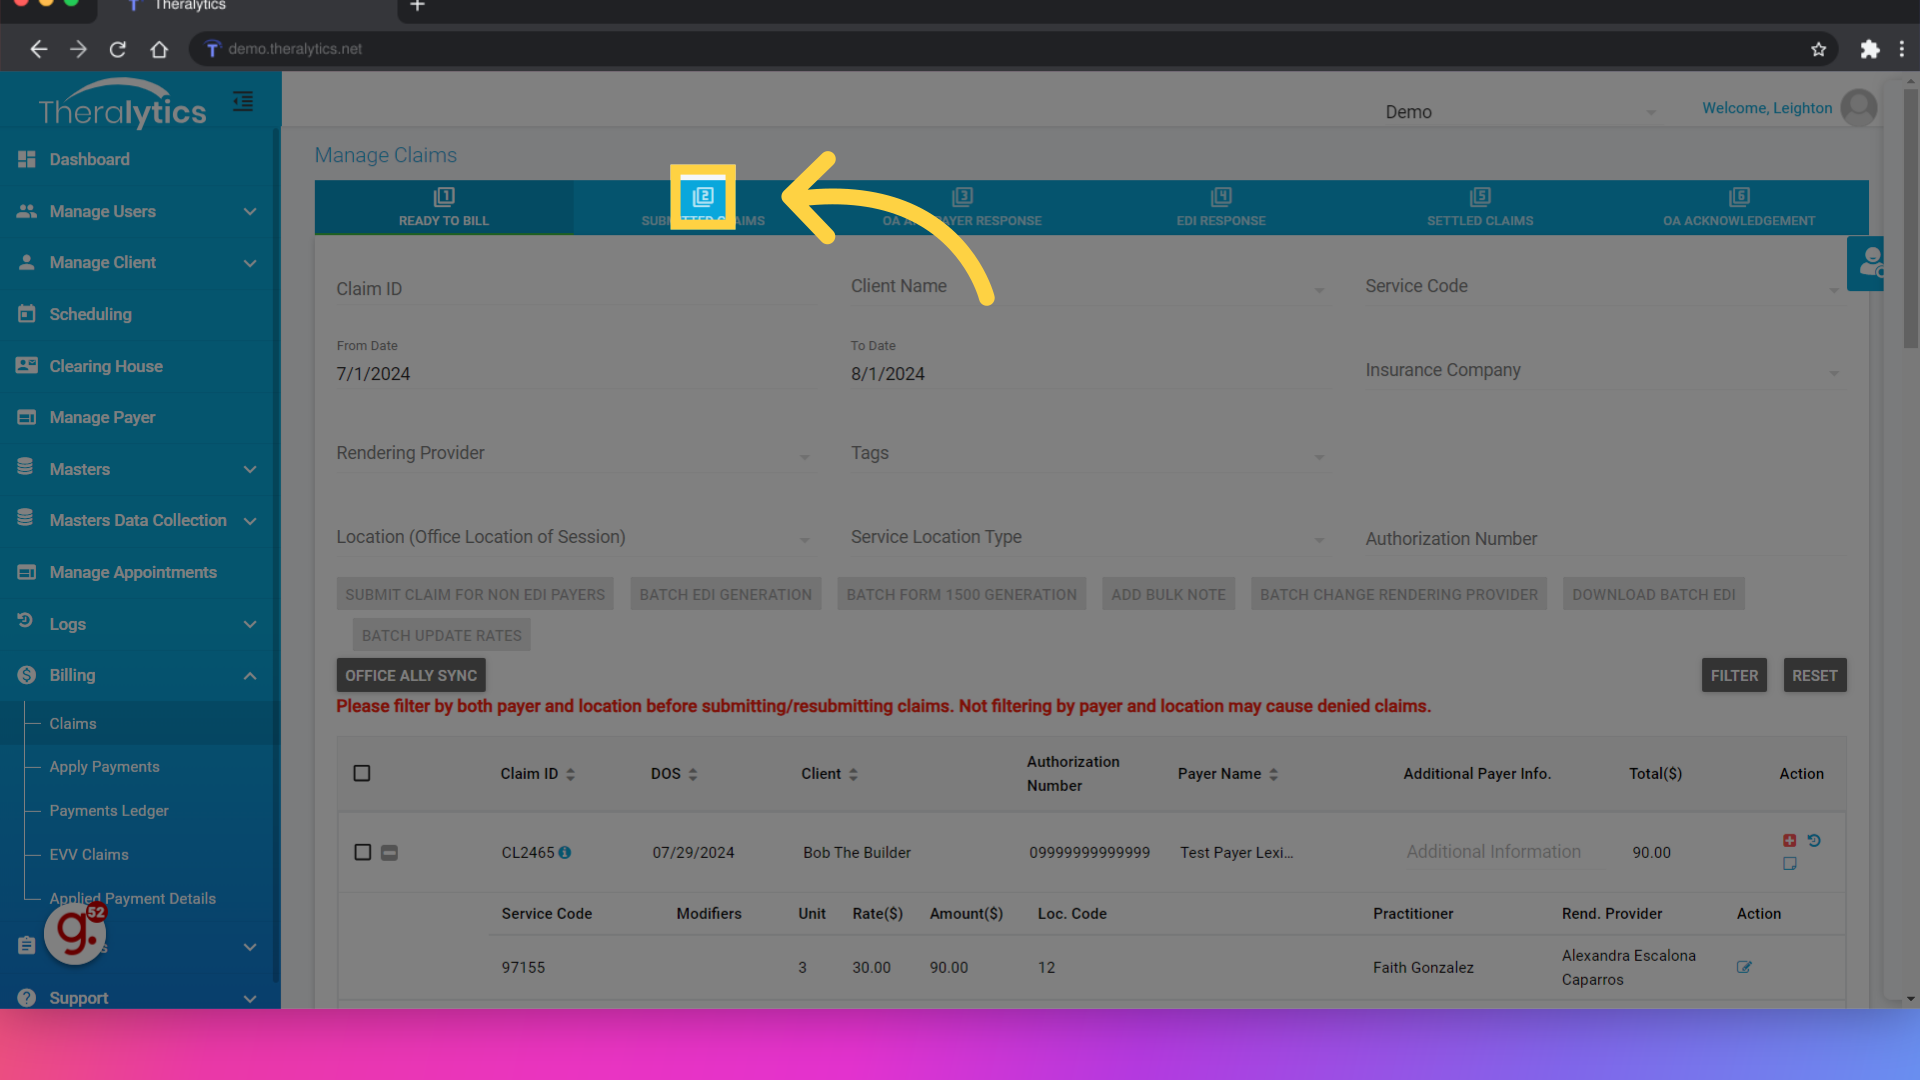
25. Submitted claims are moved to the second tab
To see the submitted claim, select the Submitted Claims tab.
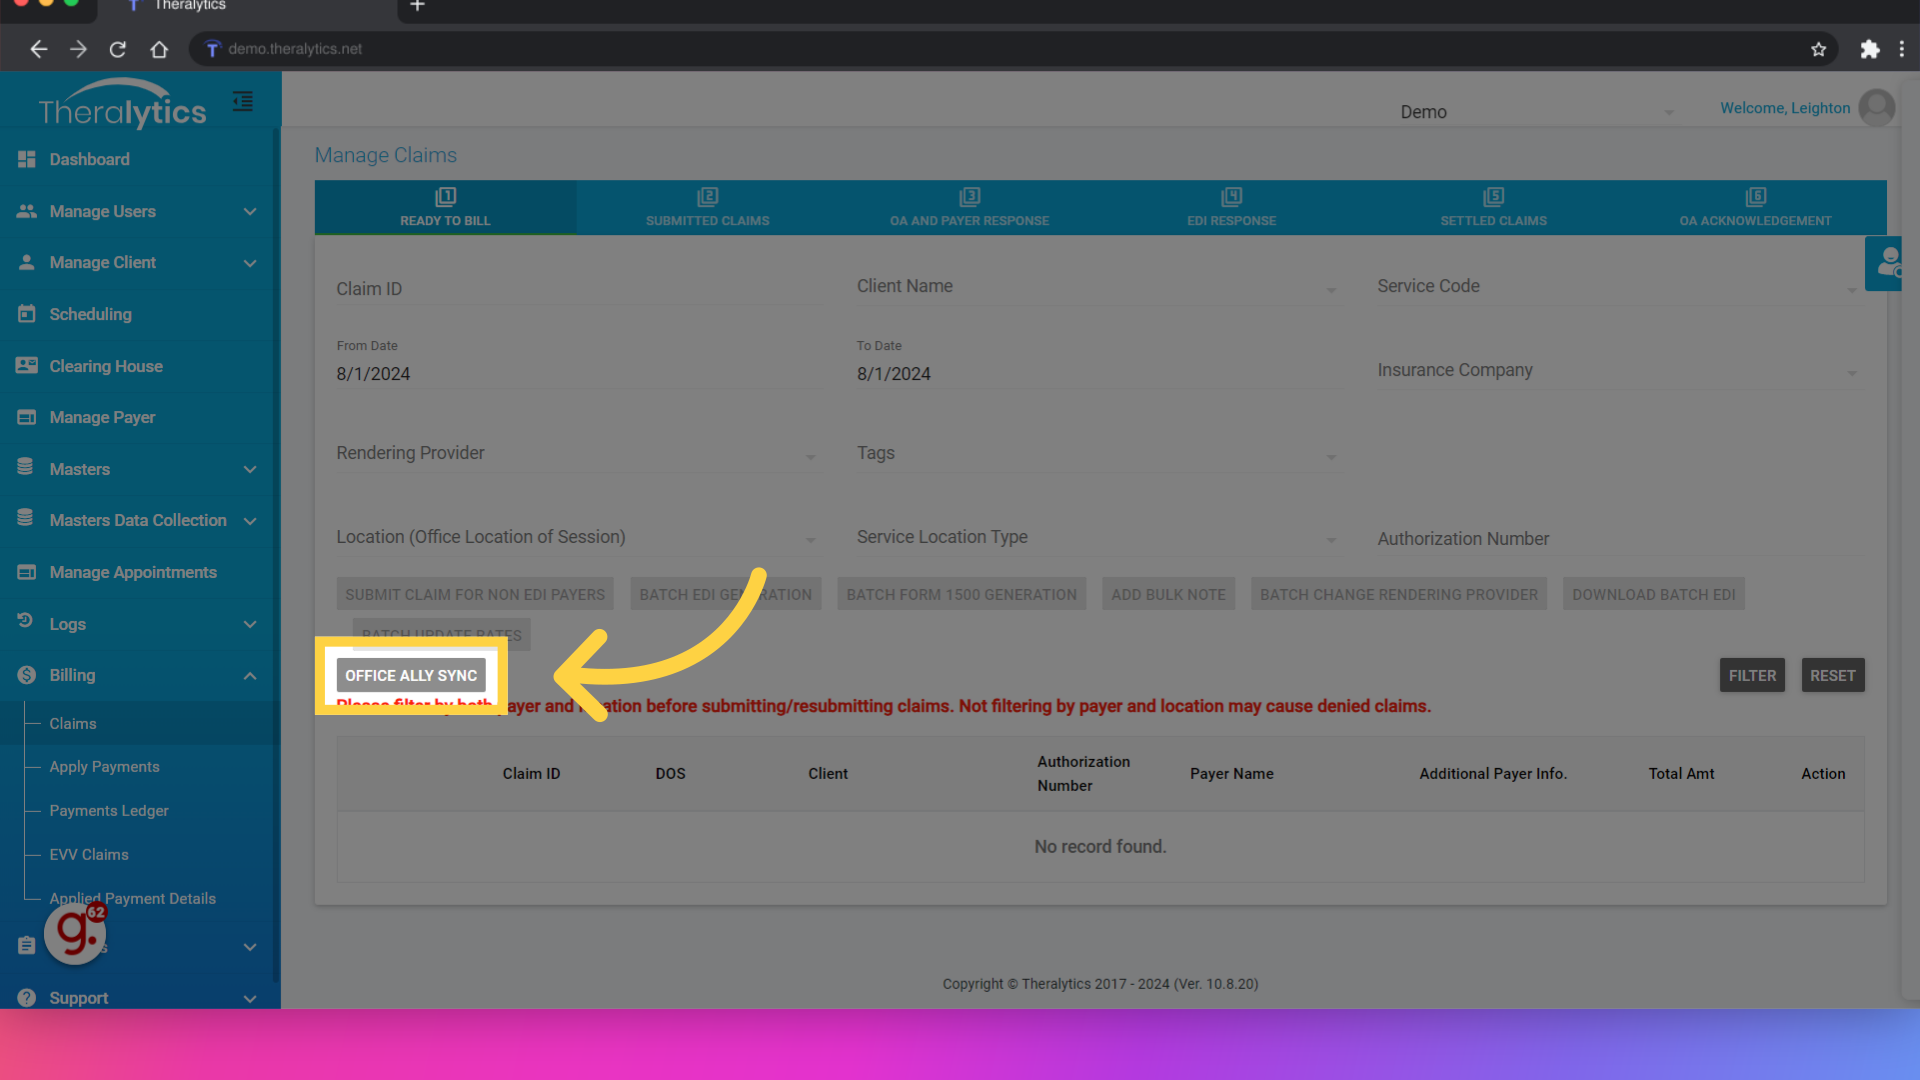
26. Click "Office Ally Sync"
Before we send the claim to the secondary payer, we will want to include the primary payer's response. Even if the primary payer paid zero on the claim, we will still want to make sure the payment is in the system before submitting to the secondary. If you have ERAs enrolled for the primary payer, click Office Ally sync to check for any response from the primary.
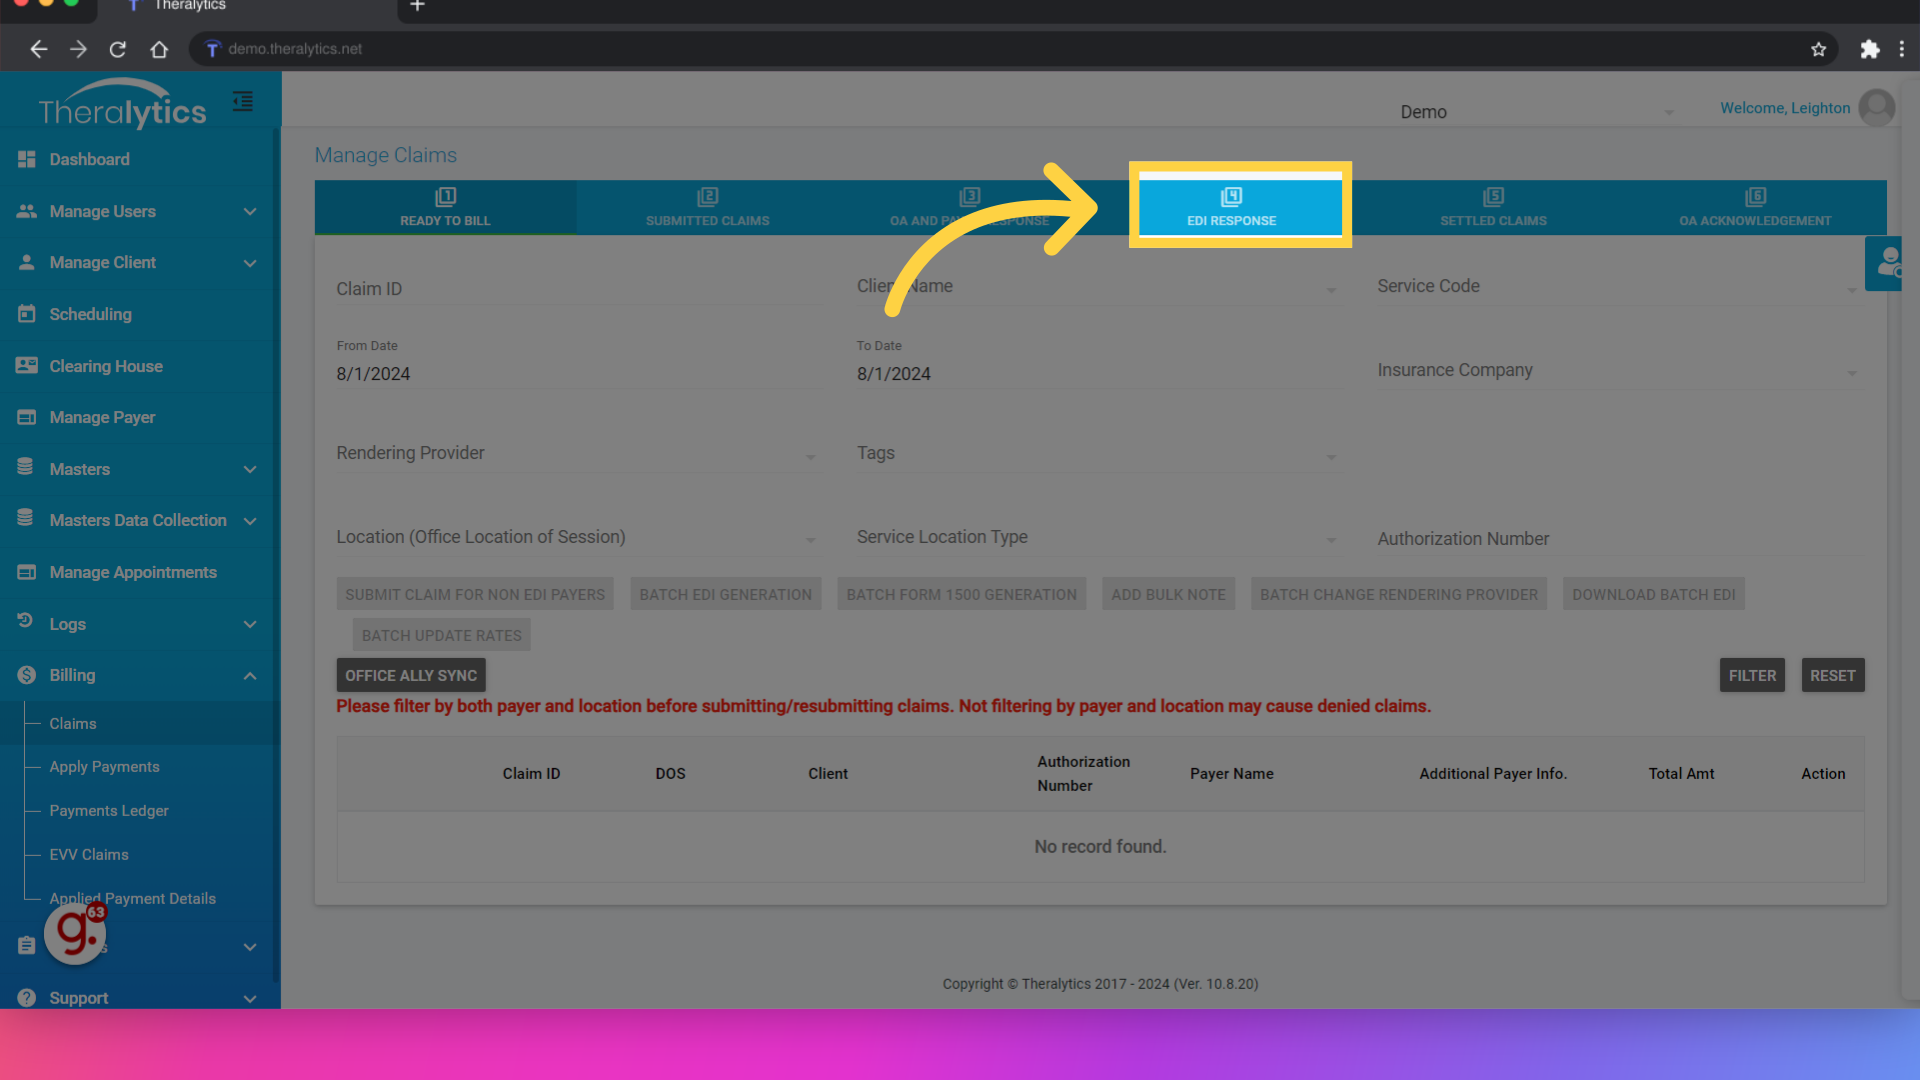
27. Any payer response appers under the EDI Response tab once it is downloaded from Office Ally
If there is a payer response, you can view it from the EDI Response tab. This include the EOB with the payment info.
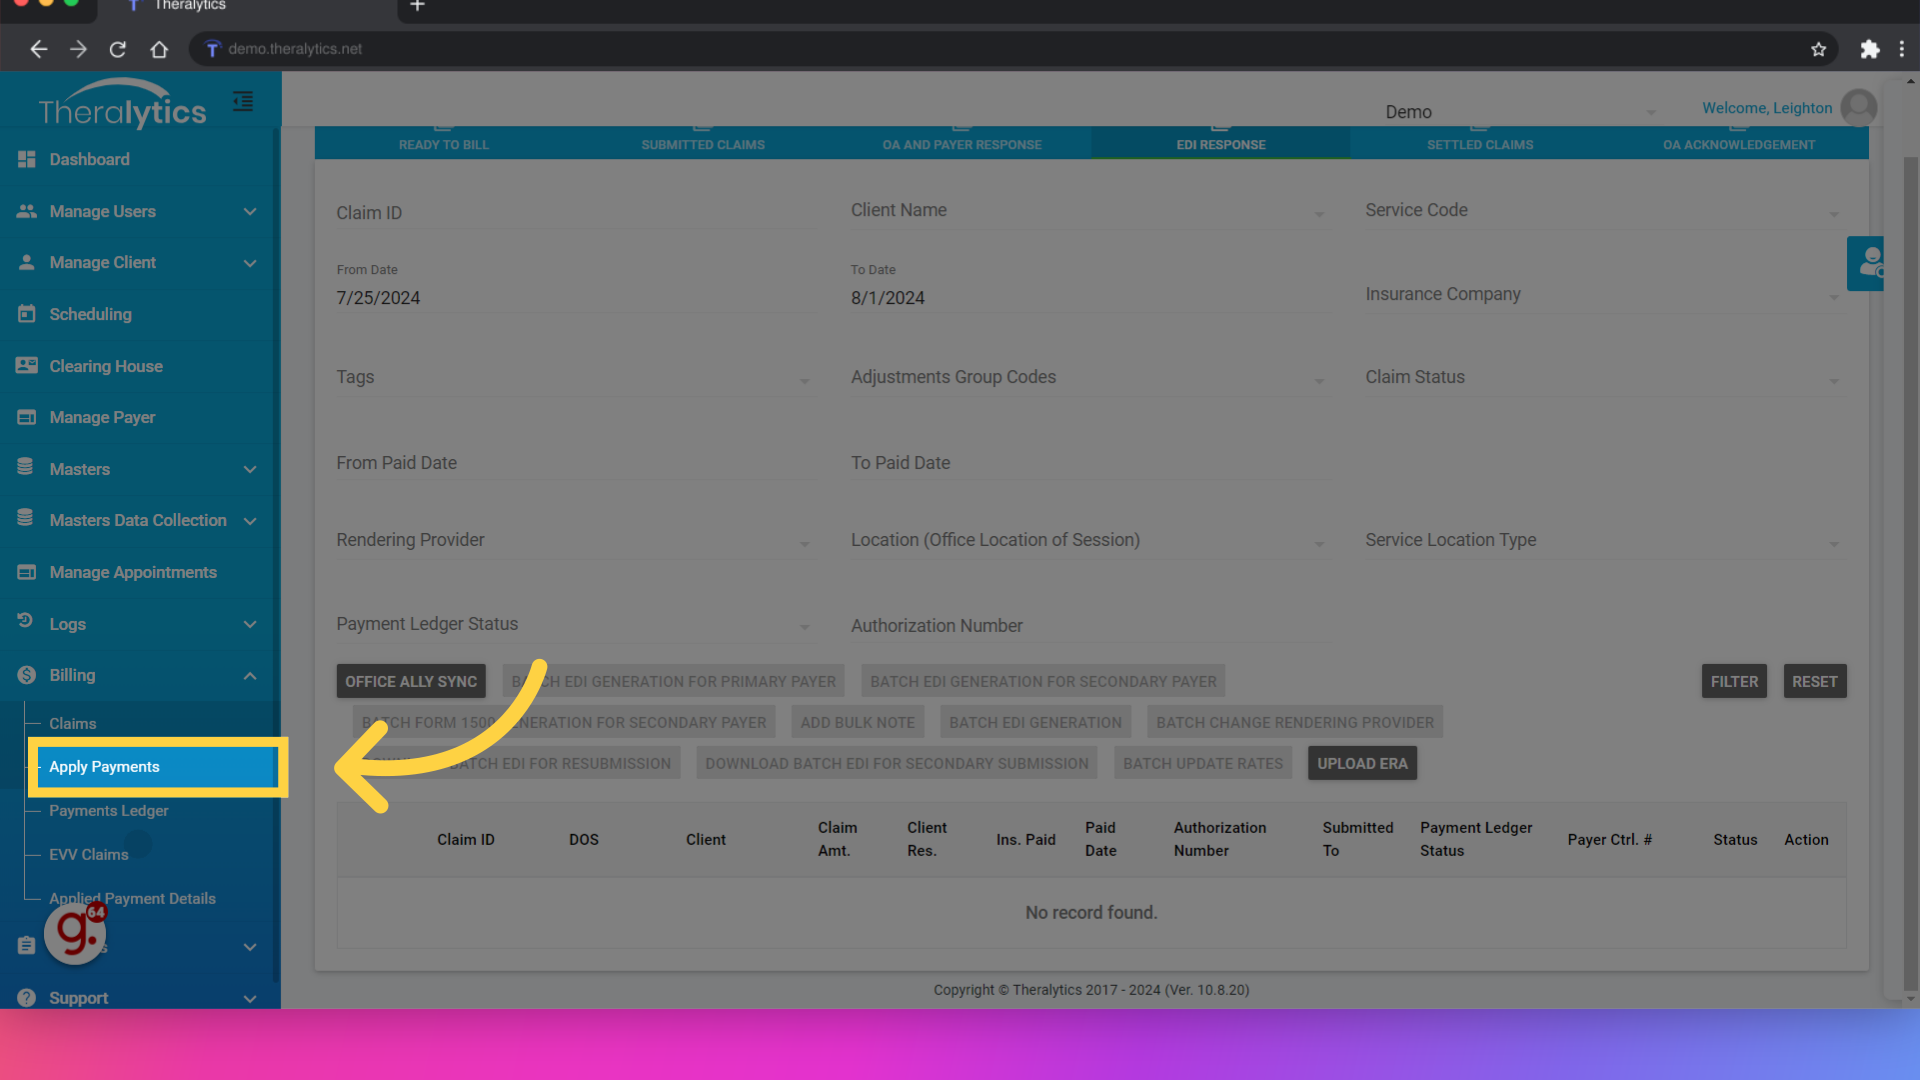
28. Click "Apply Payments"
If you have not enrolled in ERAs for the primary payer, or the ERA enrollment is still in process, you may need to add in the payment manually. This can be done from the Apply Payments area under Billing.
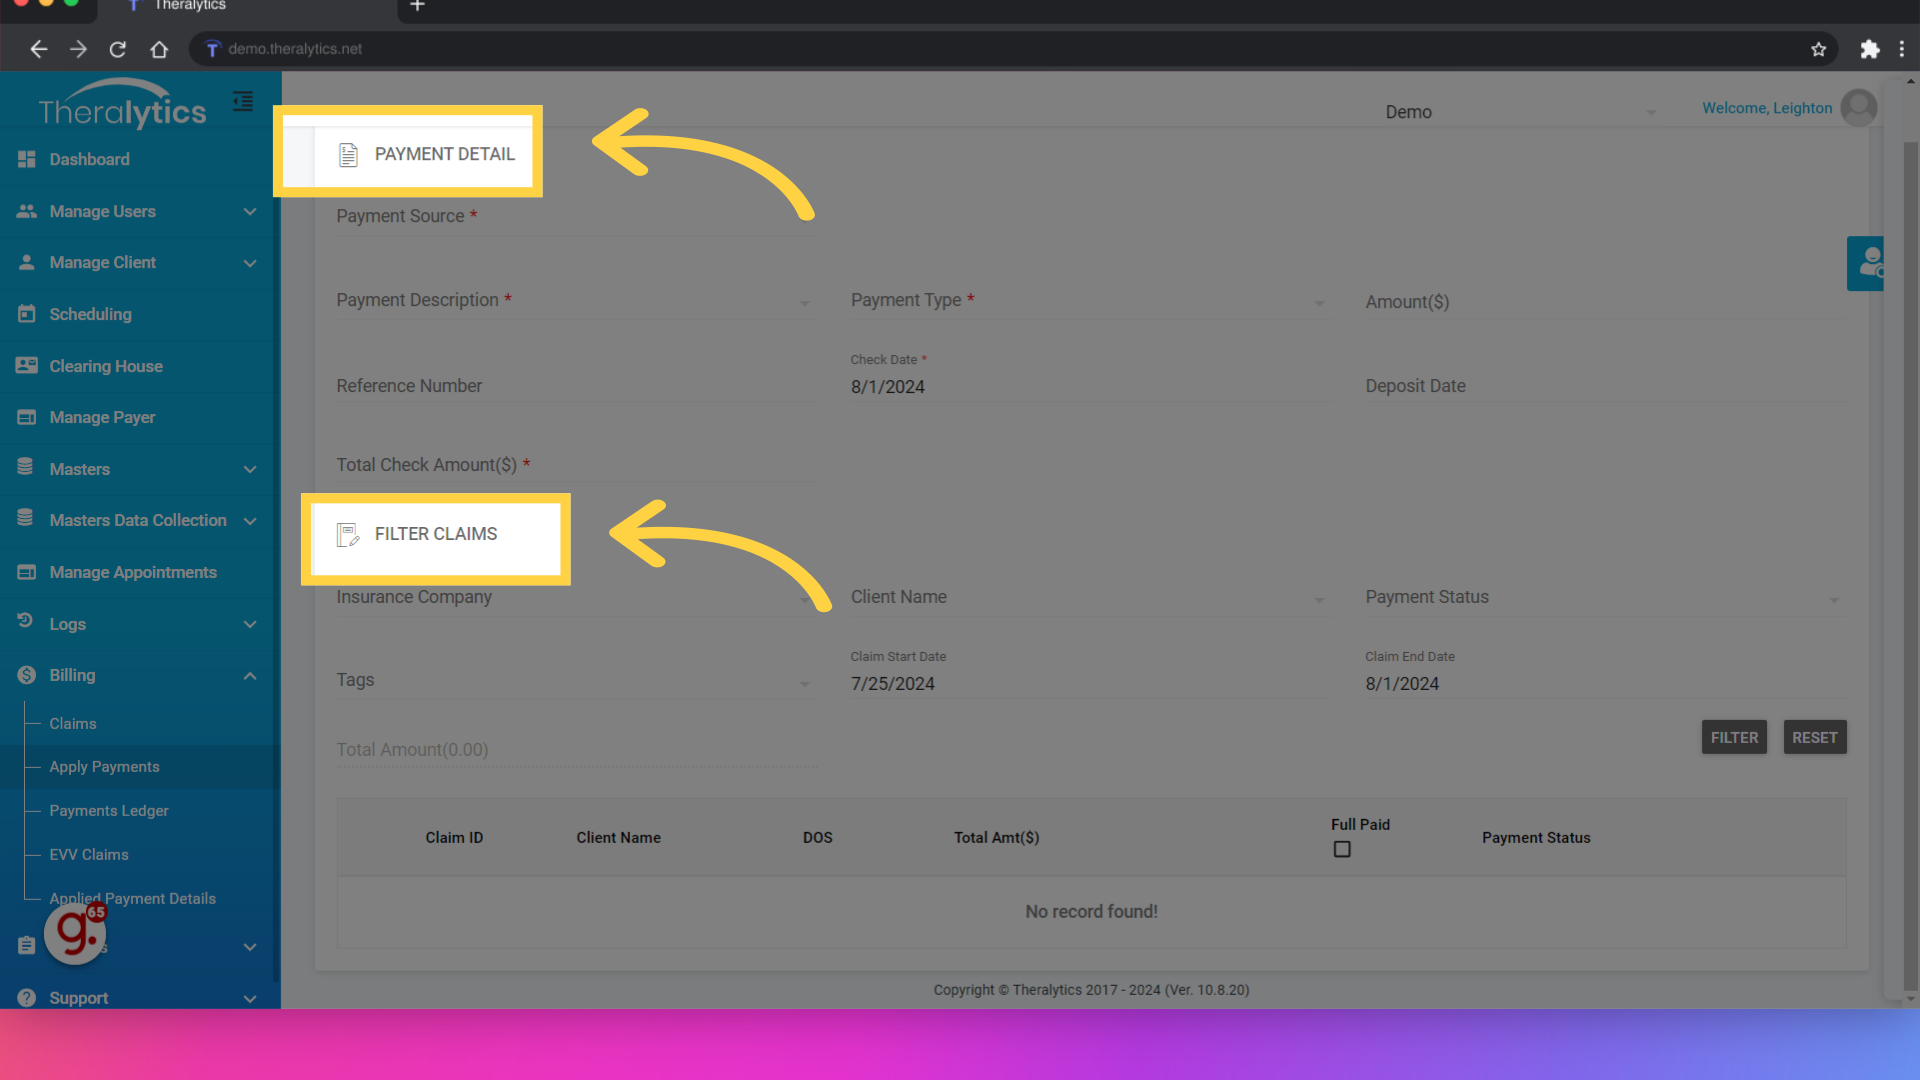
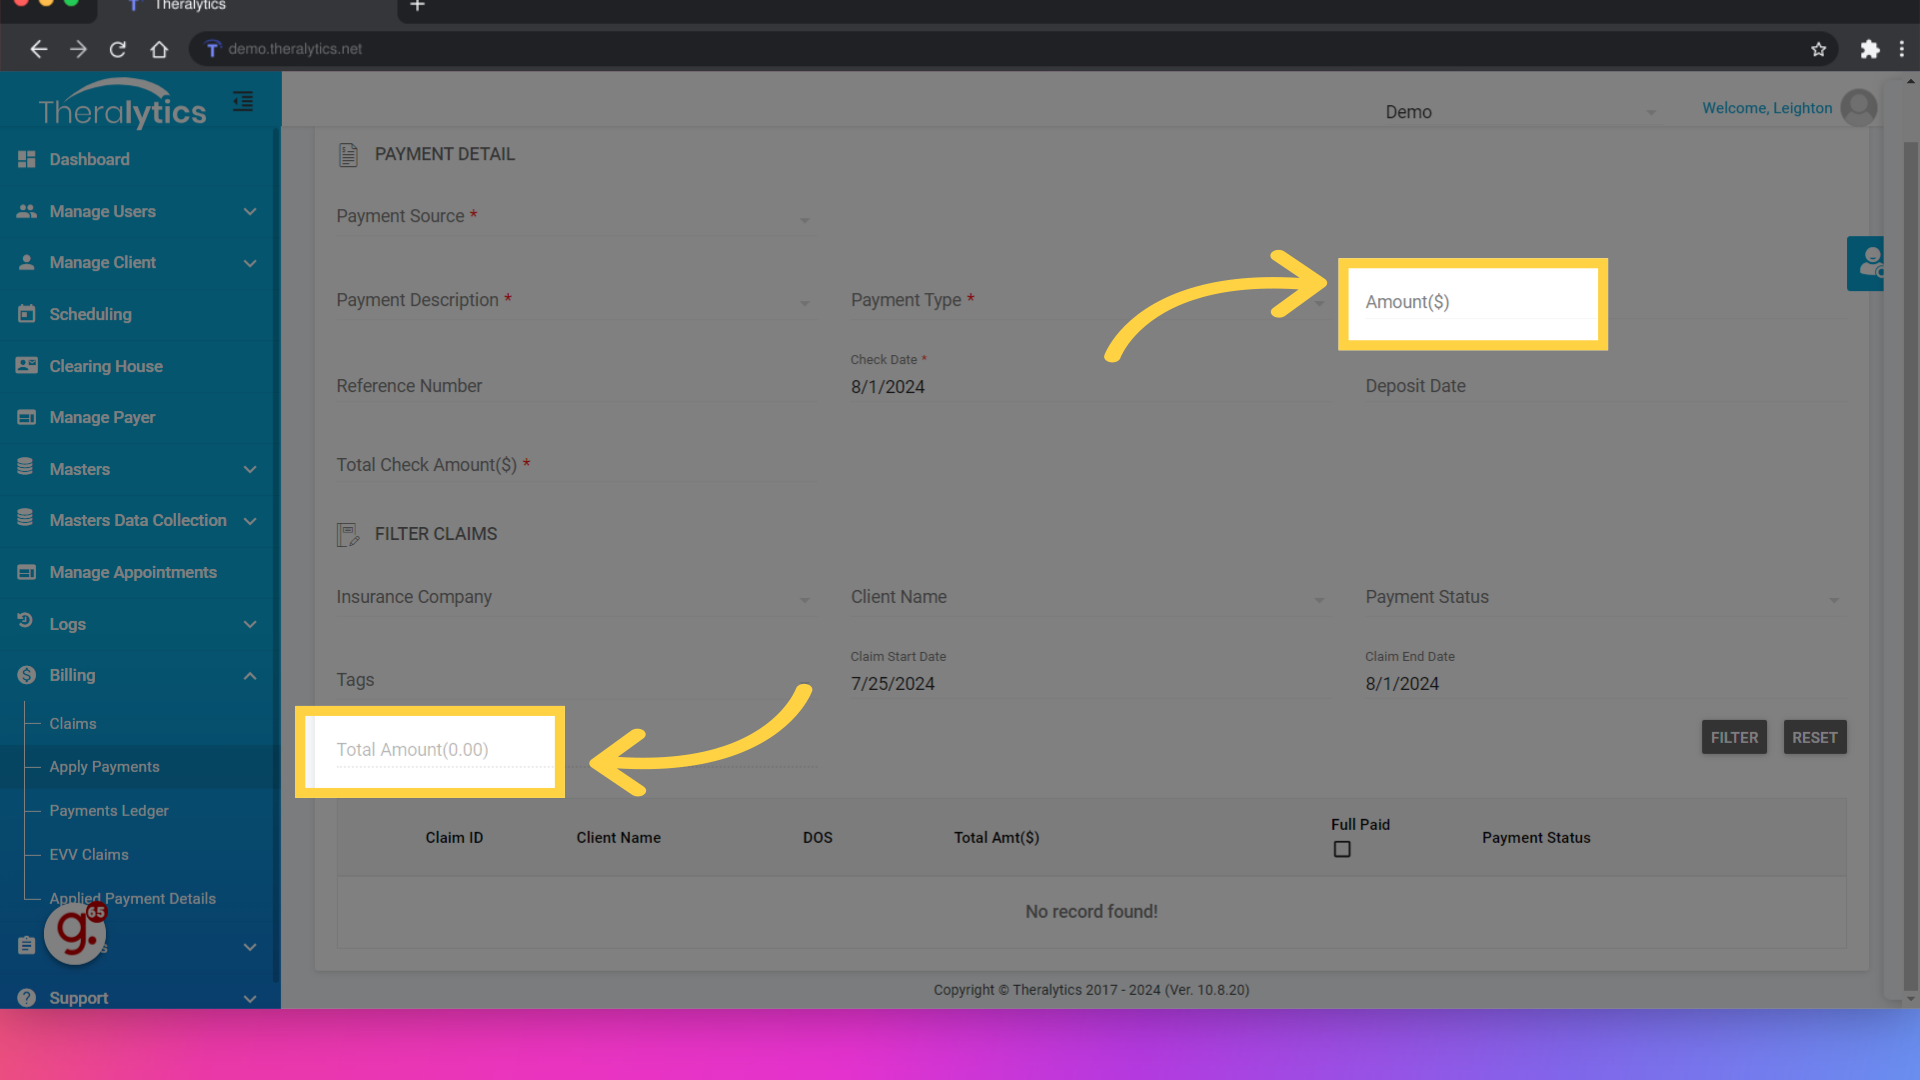
29. Check information goes here.
In Apply Payments, the top portion is where you can enter the check information. The bottom portion is where you filter out the claims you are working with.
30. Click here
Once the claims you are applying payments for are filtered out, use the corresponding fields to enter in the payment amounts for each claim. The system will total the payment amount on the left side of the screen.
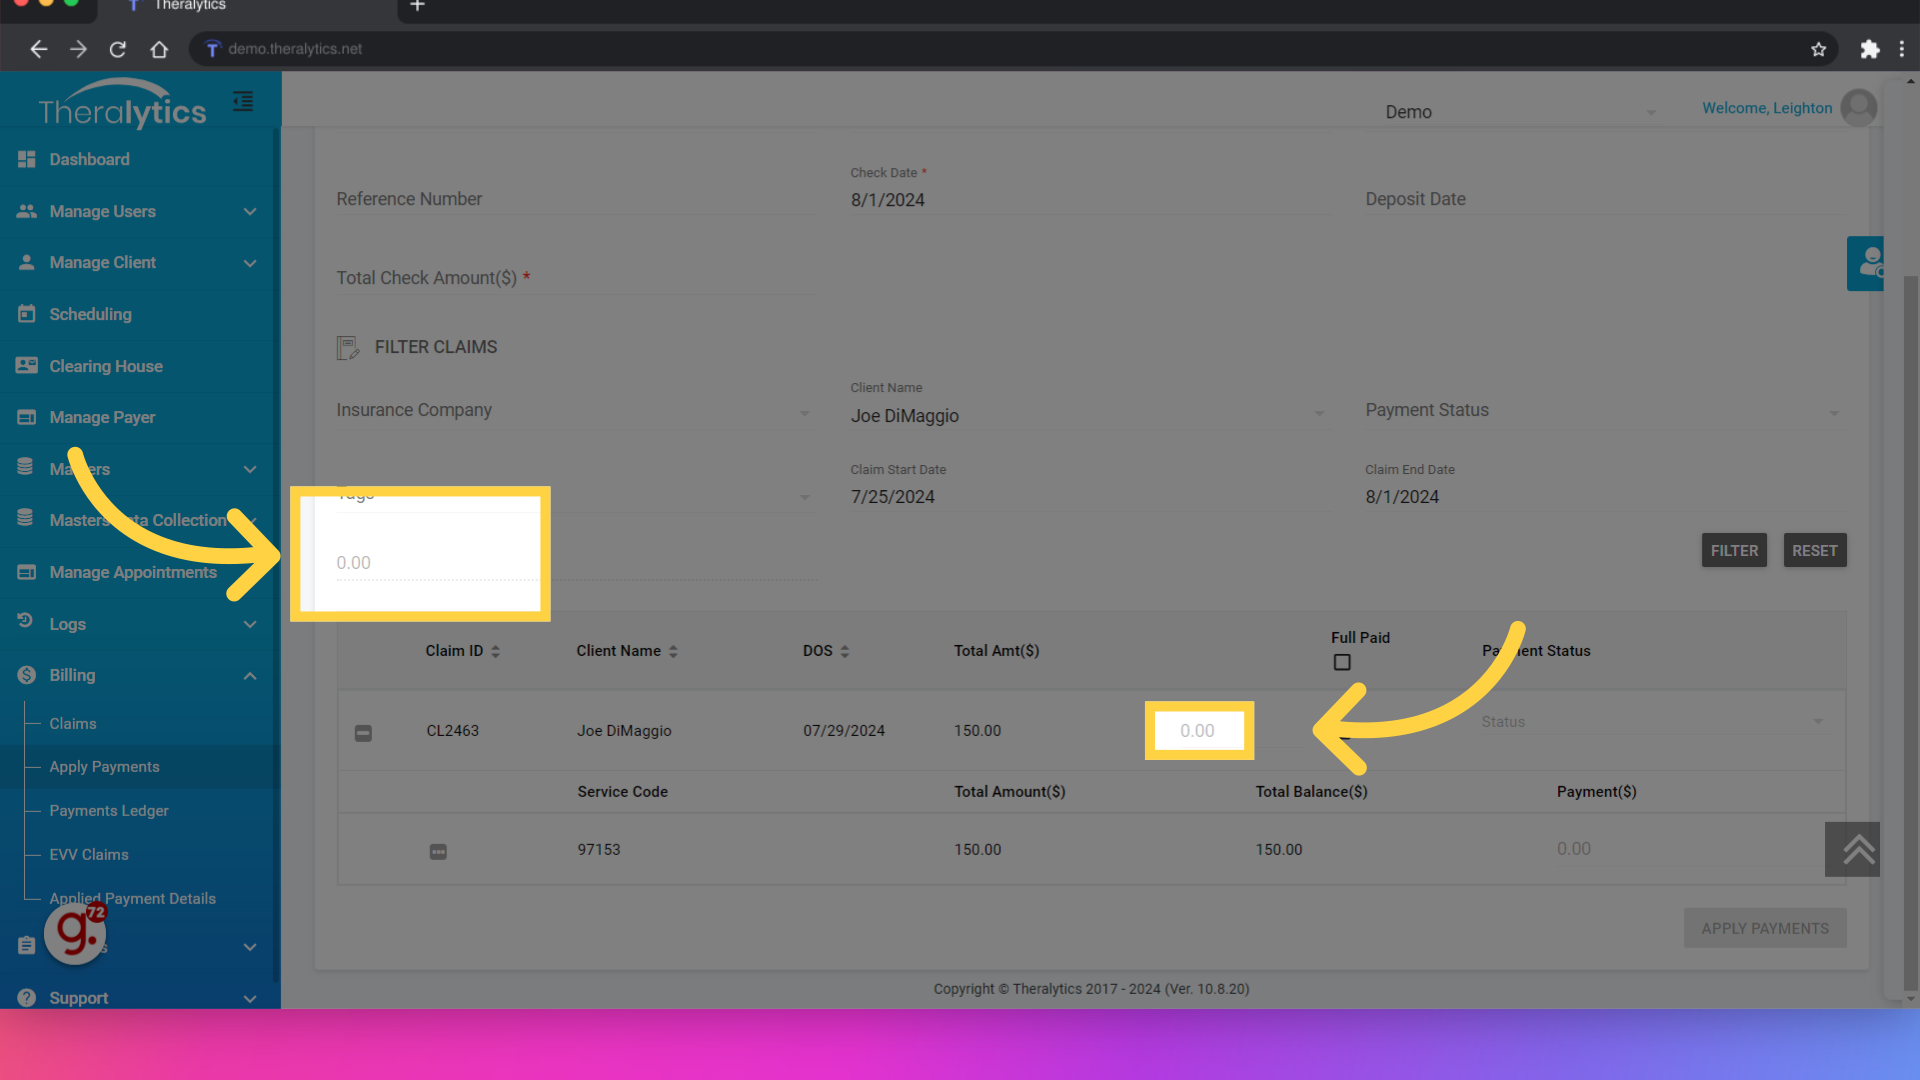
31. Make sure that the amount in these two areas matches before applying your payment.
As you add in the payment information, the system will tally the total paid amount. You will need to make sure that the check amount that you originally entered in the top right matches this sum. Please make sure to enter any adjustments as you see them on the EOB you are working from as well. The adjustments (including patient responsibility) are required by the secondary payer to process the claim.
32. Click "Claims"
Now that the payment information has been entered, we're ready to submit the claim to the secondary payer. Navigate to the Claims tab.
33. Open up submitted claims
If you entered the payment manually or if you used apply payments to add the primary payment, locate your claim under the submitted claims tab.

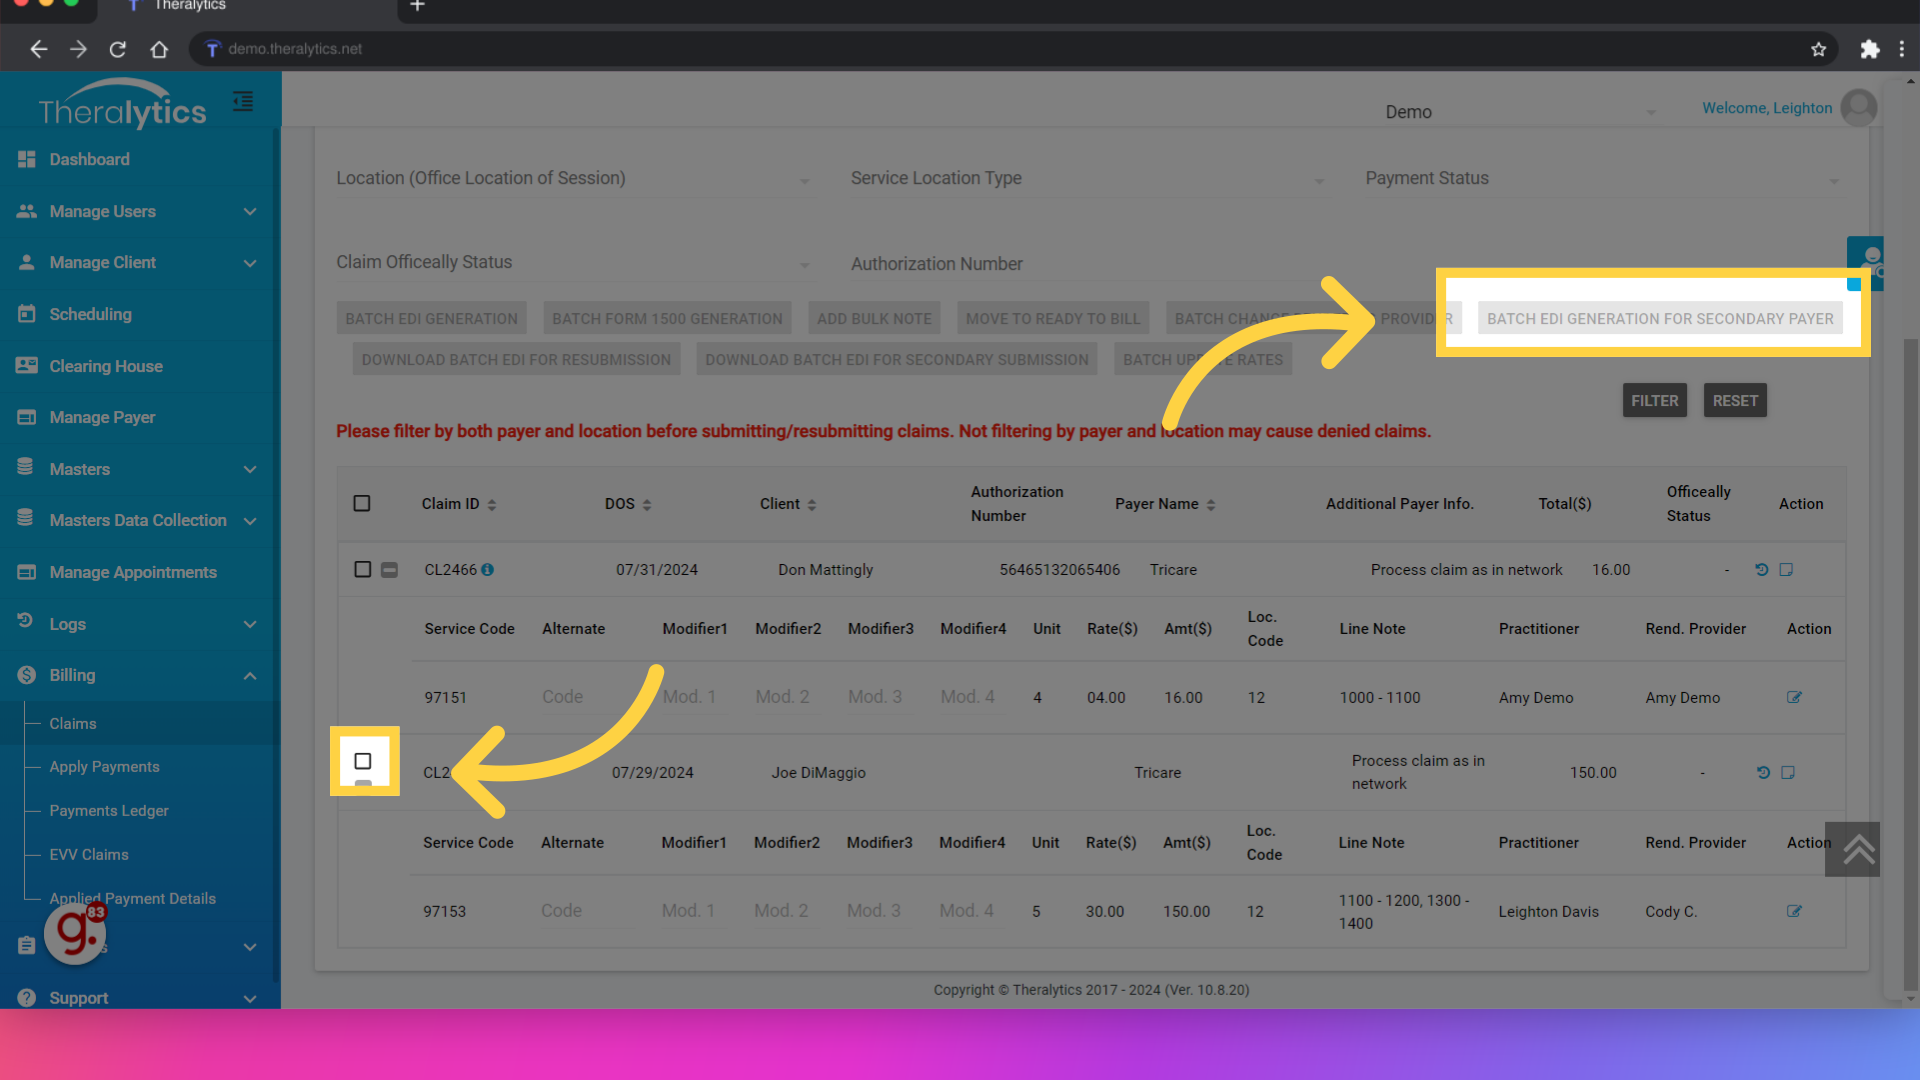
34. Select your claim using the checkbox, then use the Batch EDI Generation for Secondary Payer button to send the claim to the secondary
After filtering, select the claim from the list using the checkbox then use the Batch EDI Generation for Secondary Payer button to send the claim to the secondary payer. The system will fill in the secondary payer info based on what was previously entered. Remember, if you completed an ERA enrollment for the primary payer, you'll want to use the same Batch EDI Generation for Secondary Payer button in the EDI Response tab.
This concludes the process for billing secondary claims in Theralytics. If you have any additional questions, please reach out to our team at support@theralytics.net and we can further review.
Was this article helpful?
That’s Great!
Thank you for your feedback
Sorry! We couldn't be helpful
Thank you for your feedback
Feedback sent
We appreciate your effort and will try to fix the article